Project 4a: Image Warping and Mosaicing

Overview

For the first part of this project, I will be creating a homogrophy function and a warping function for the purpose of rectifying an image and creating a mosaic or a stictching a multiple images. For the second part, I developed an automated correspondence detection tool to enable mosaic creation without manual point selection. I implemented Adaptive Non-Maximal Suppression, Feature Descriptor extraction and matching, and RANSAC, following the methods outlined in the paper "Multi-Image Matching using Multi-Scale Oriented Patches" by Brown et al.

Shoot the Pictures

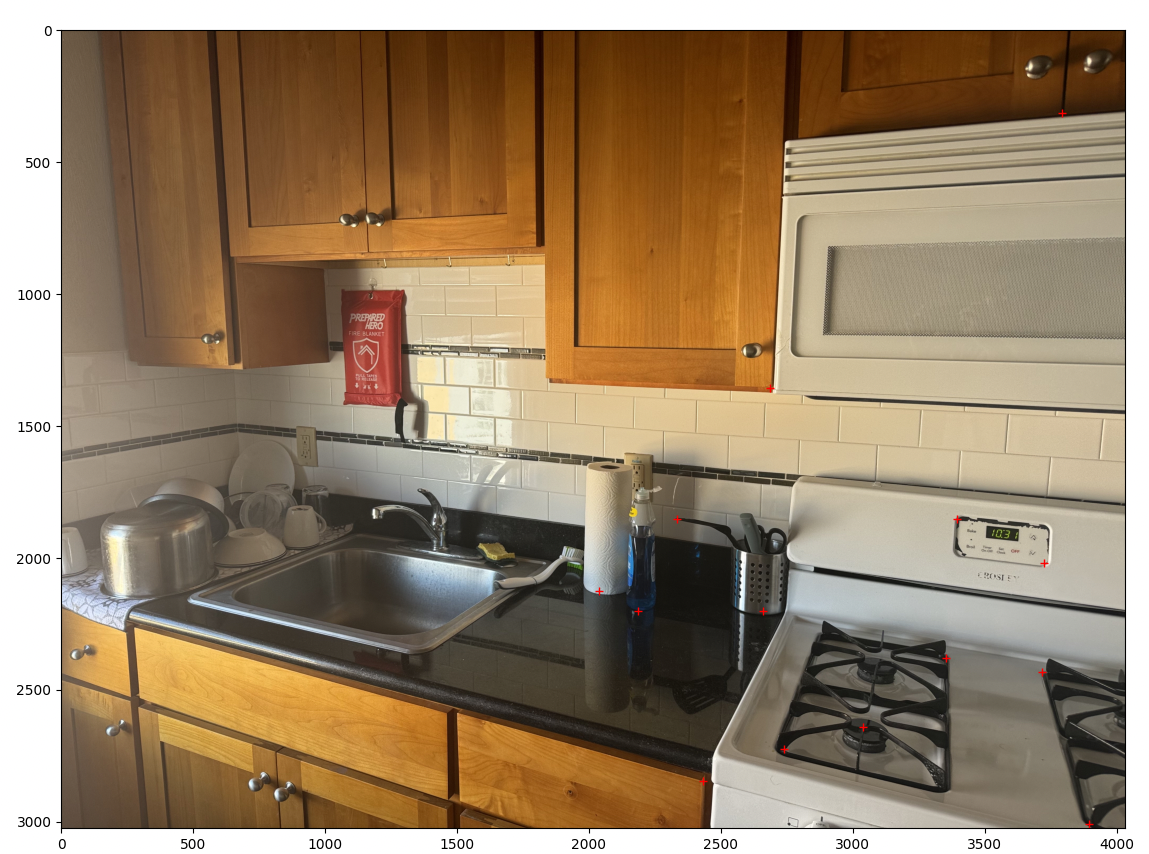
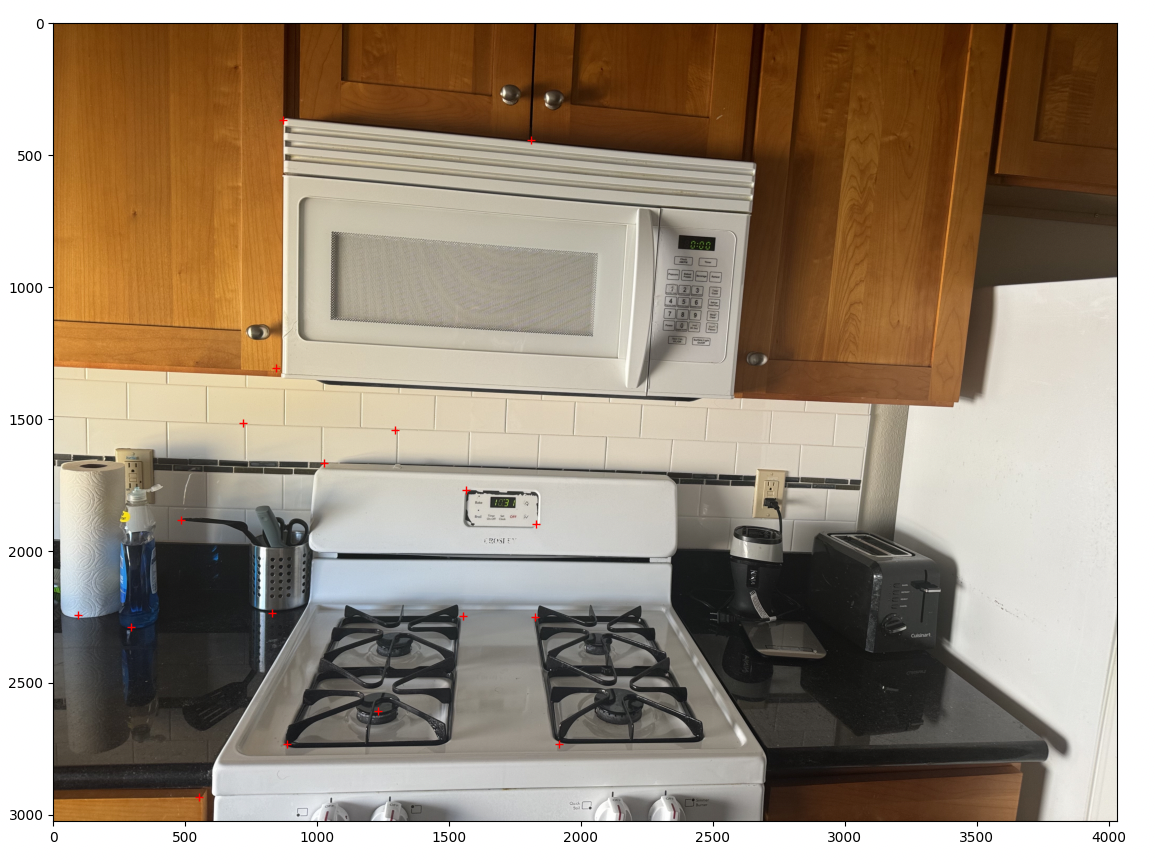
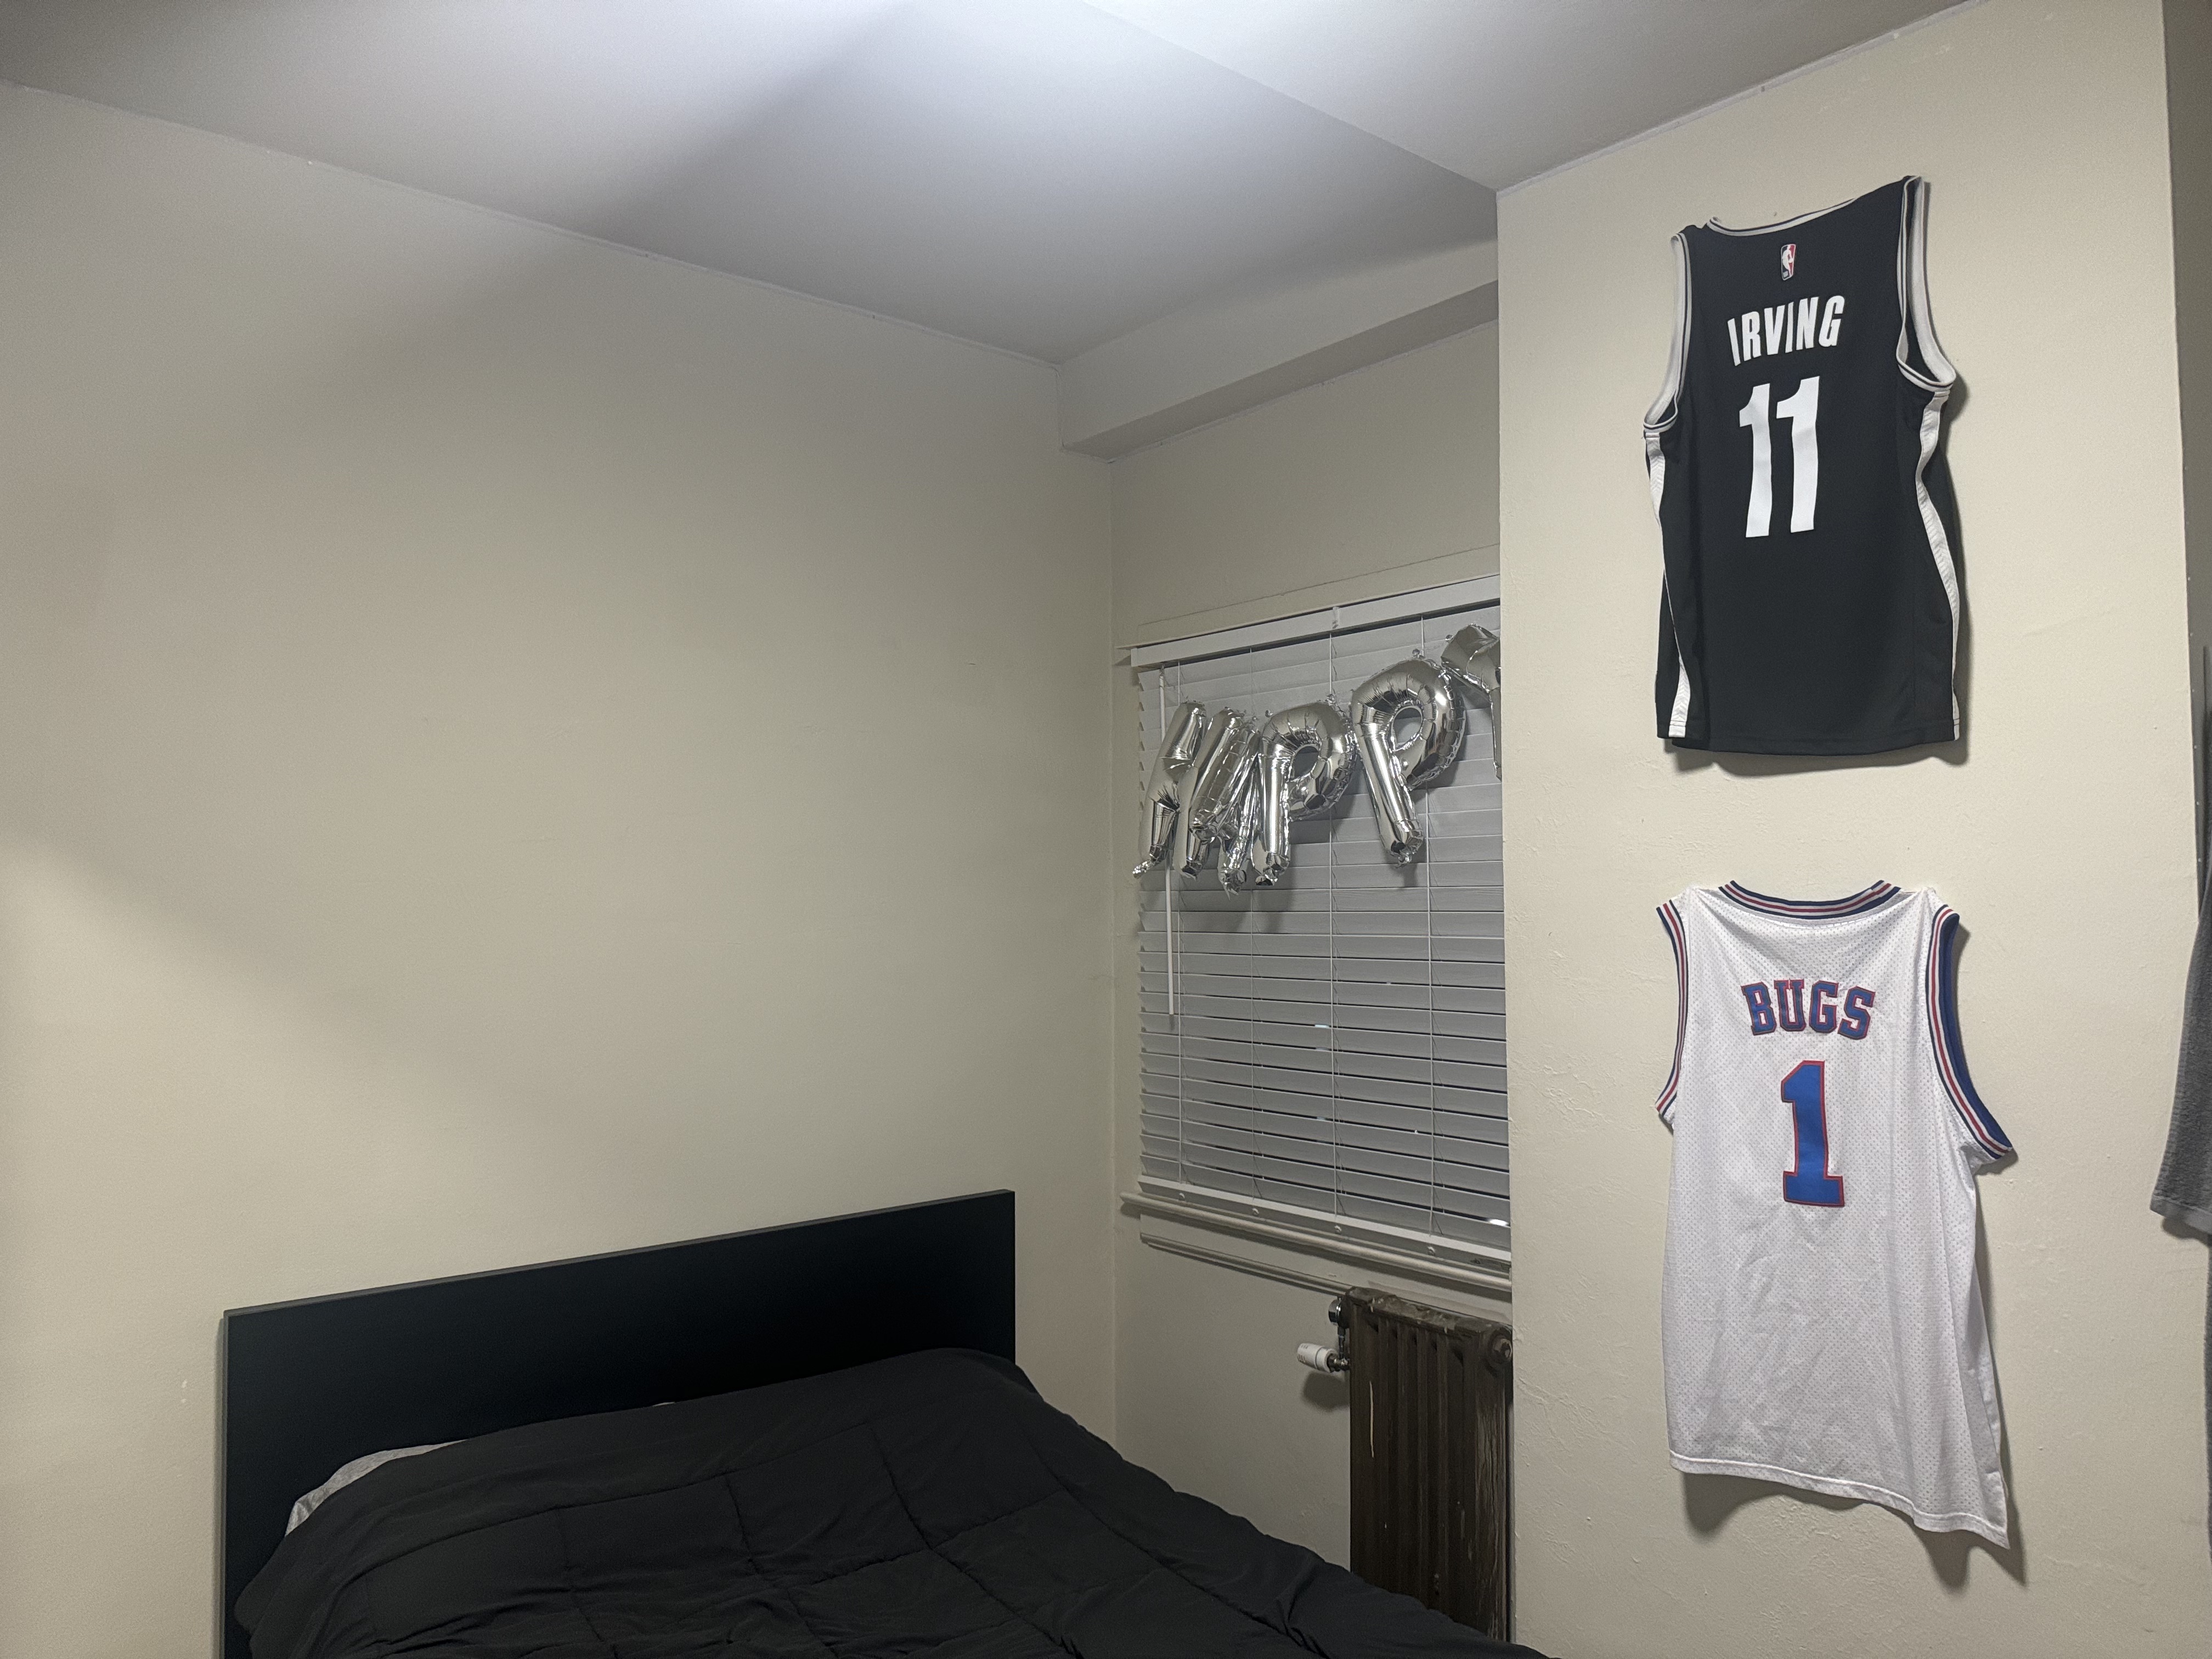
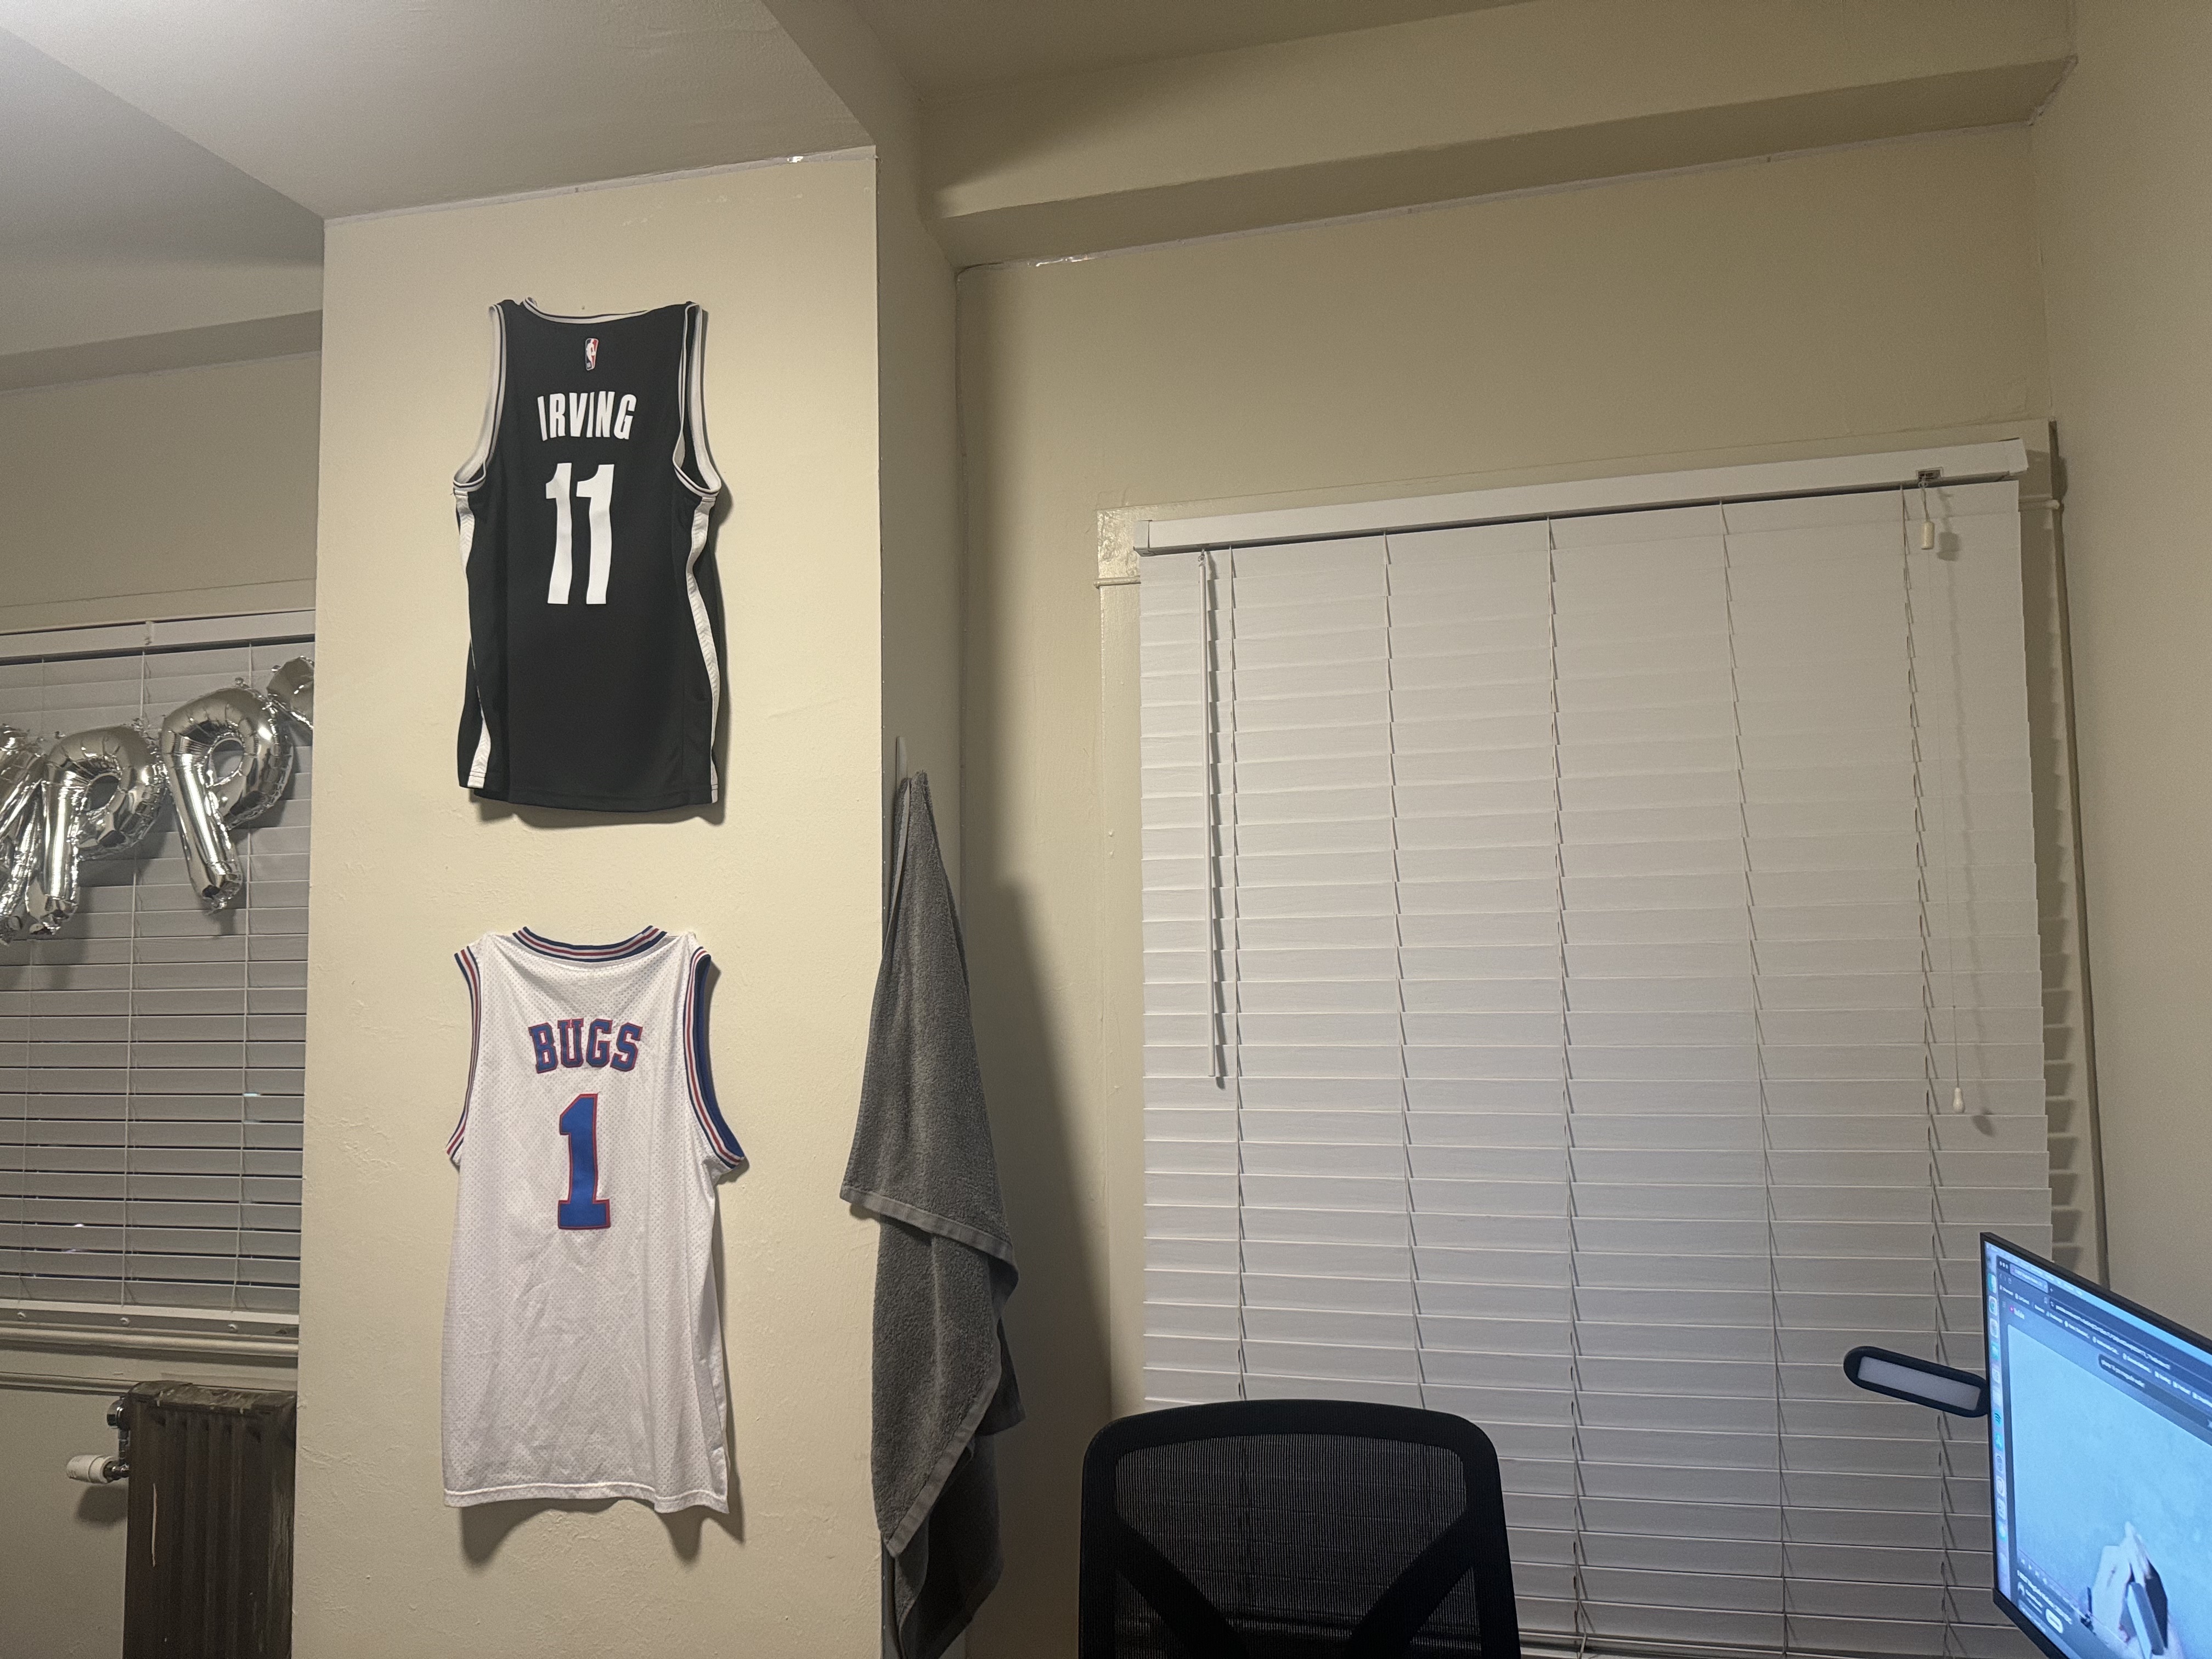
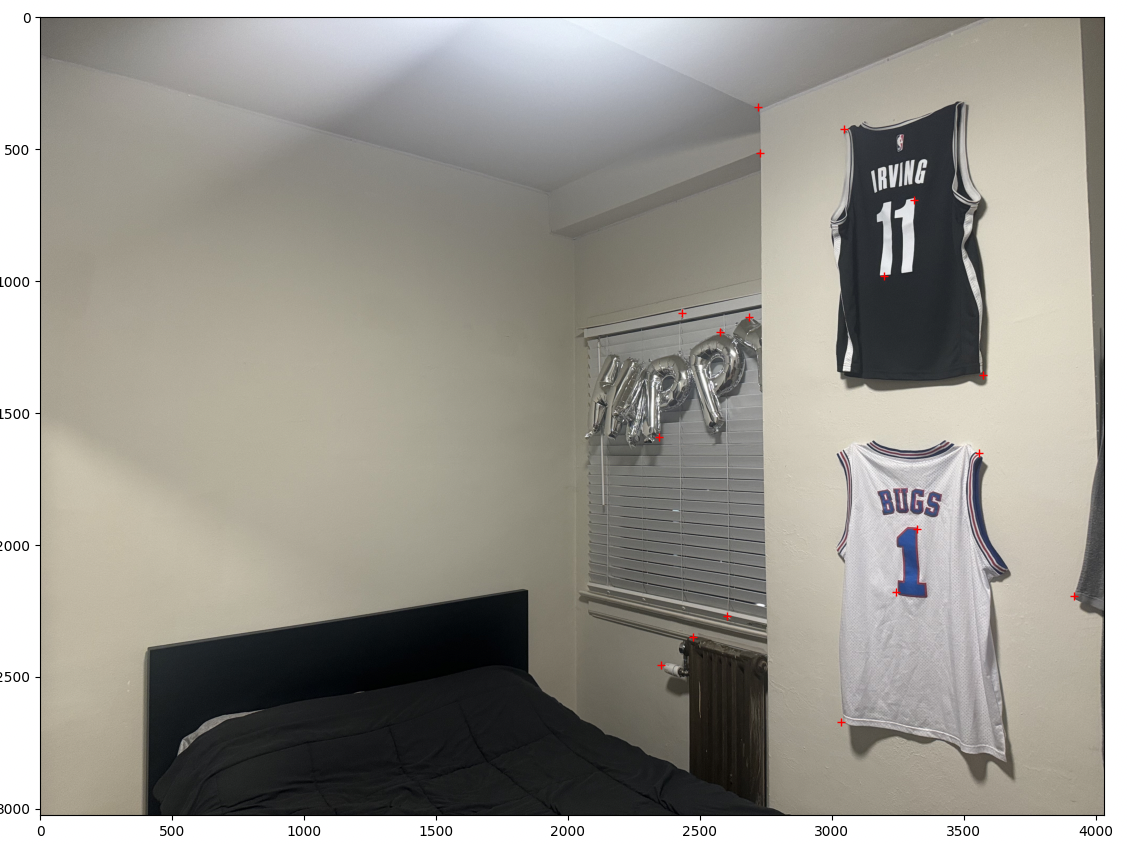
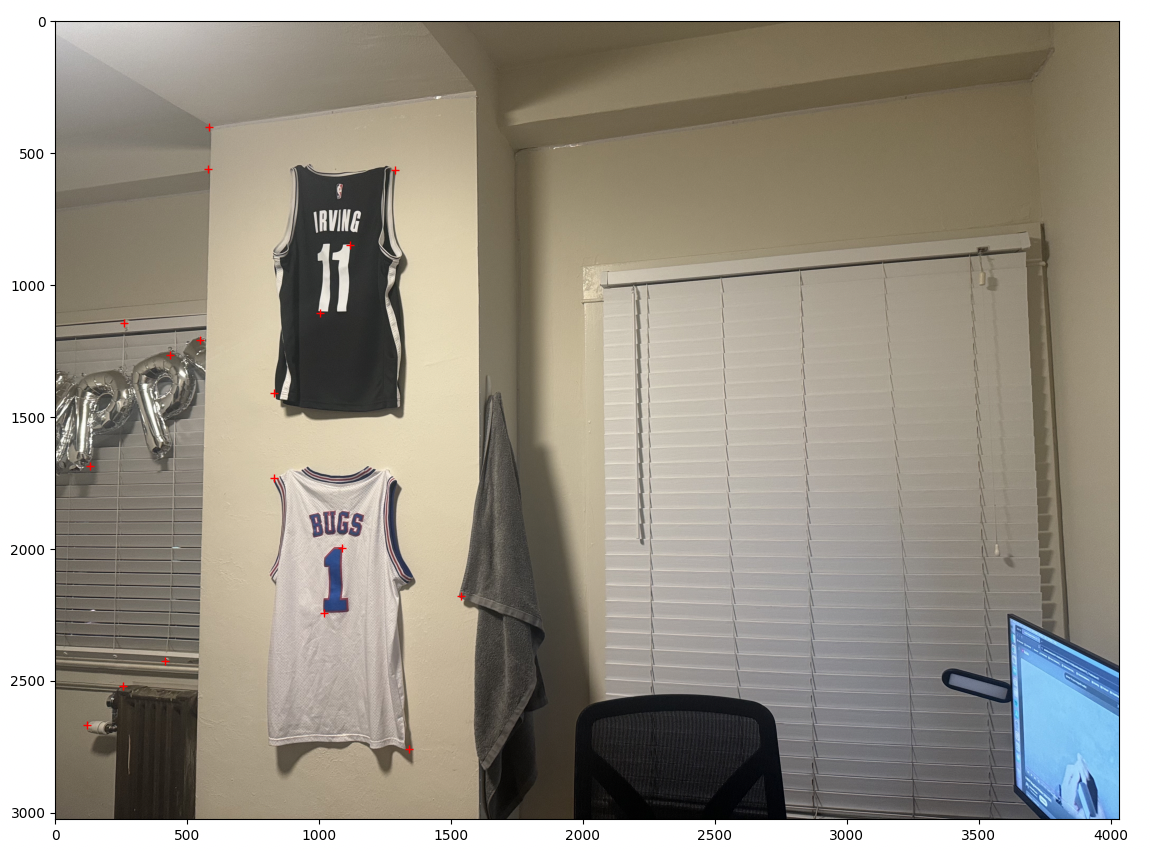
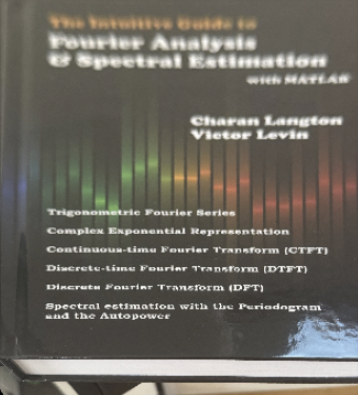
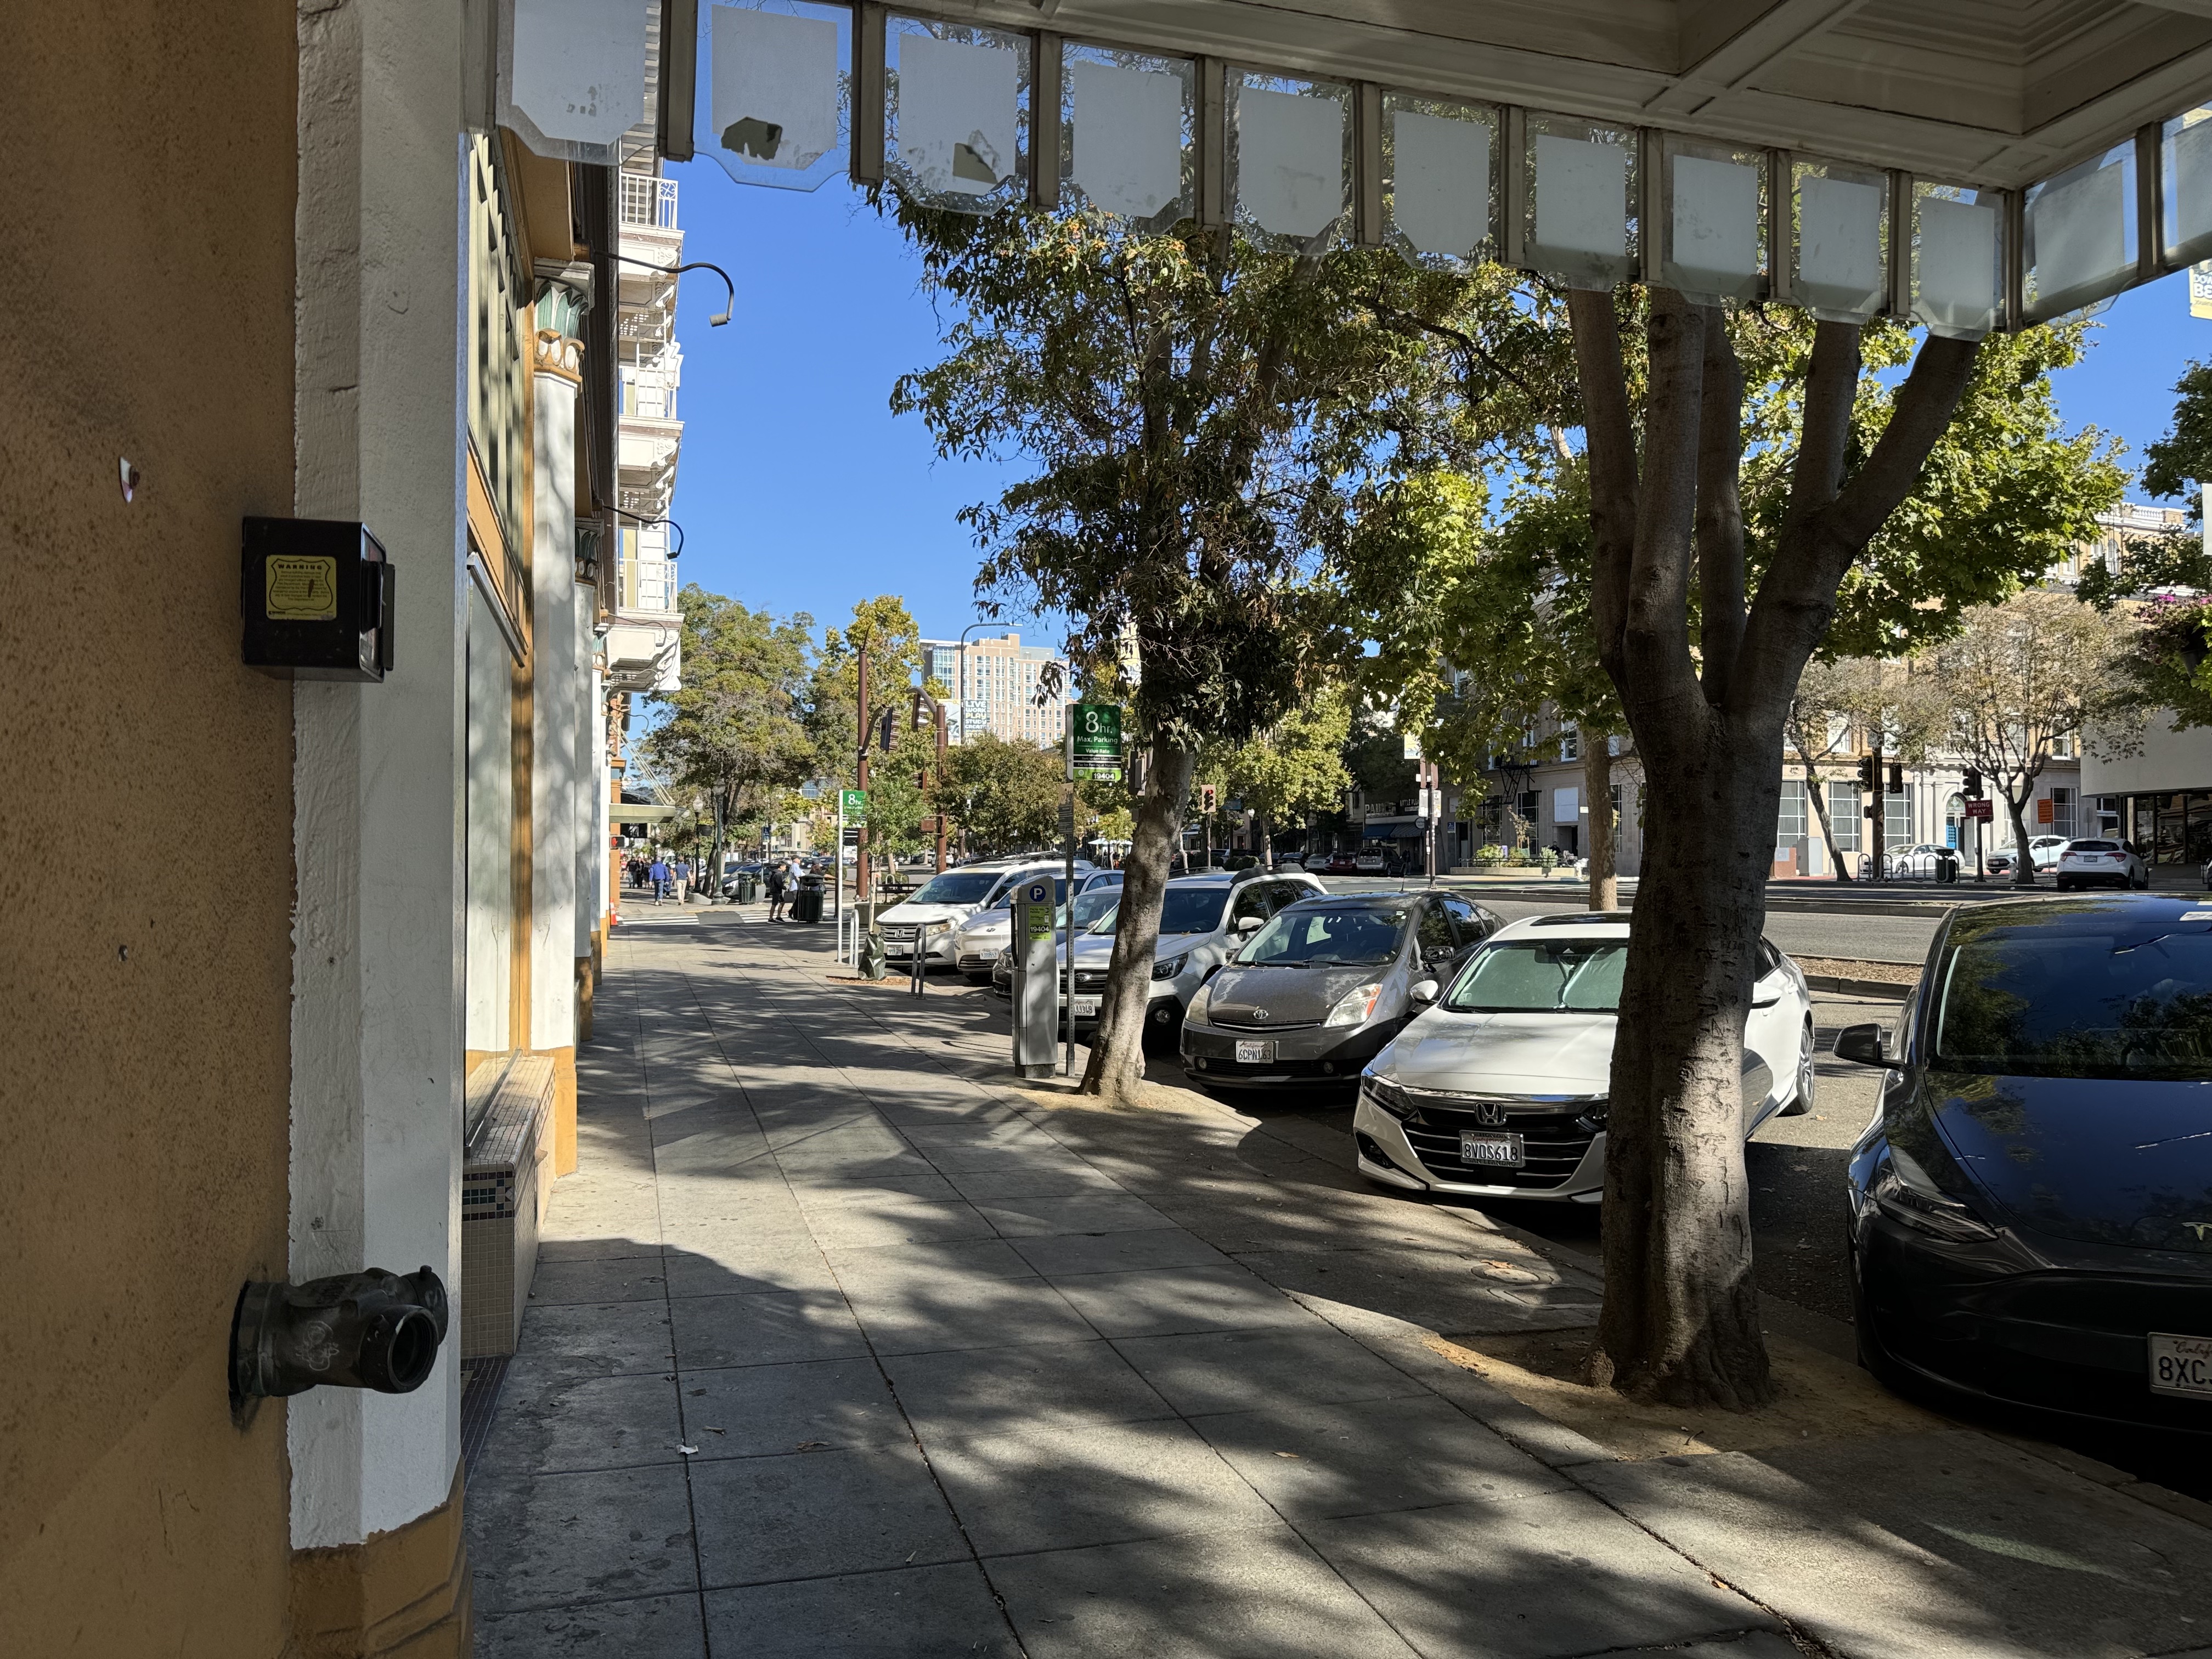
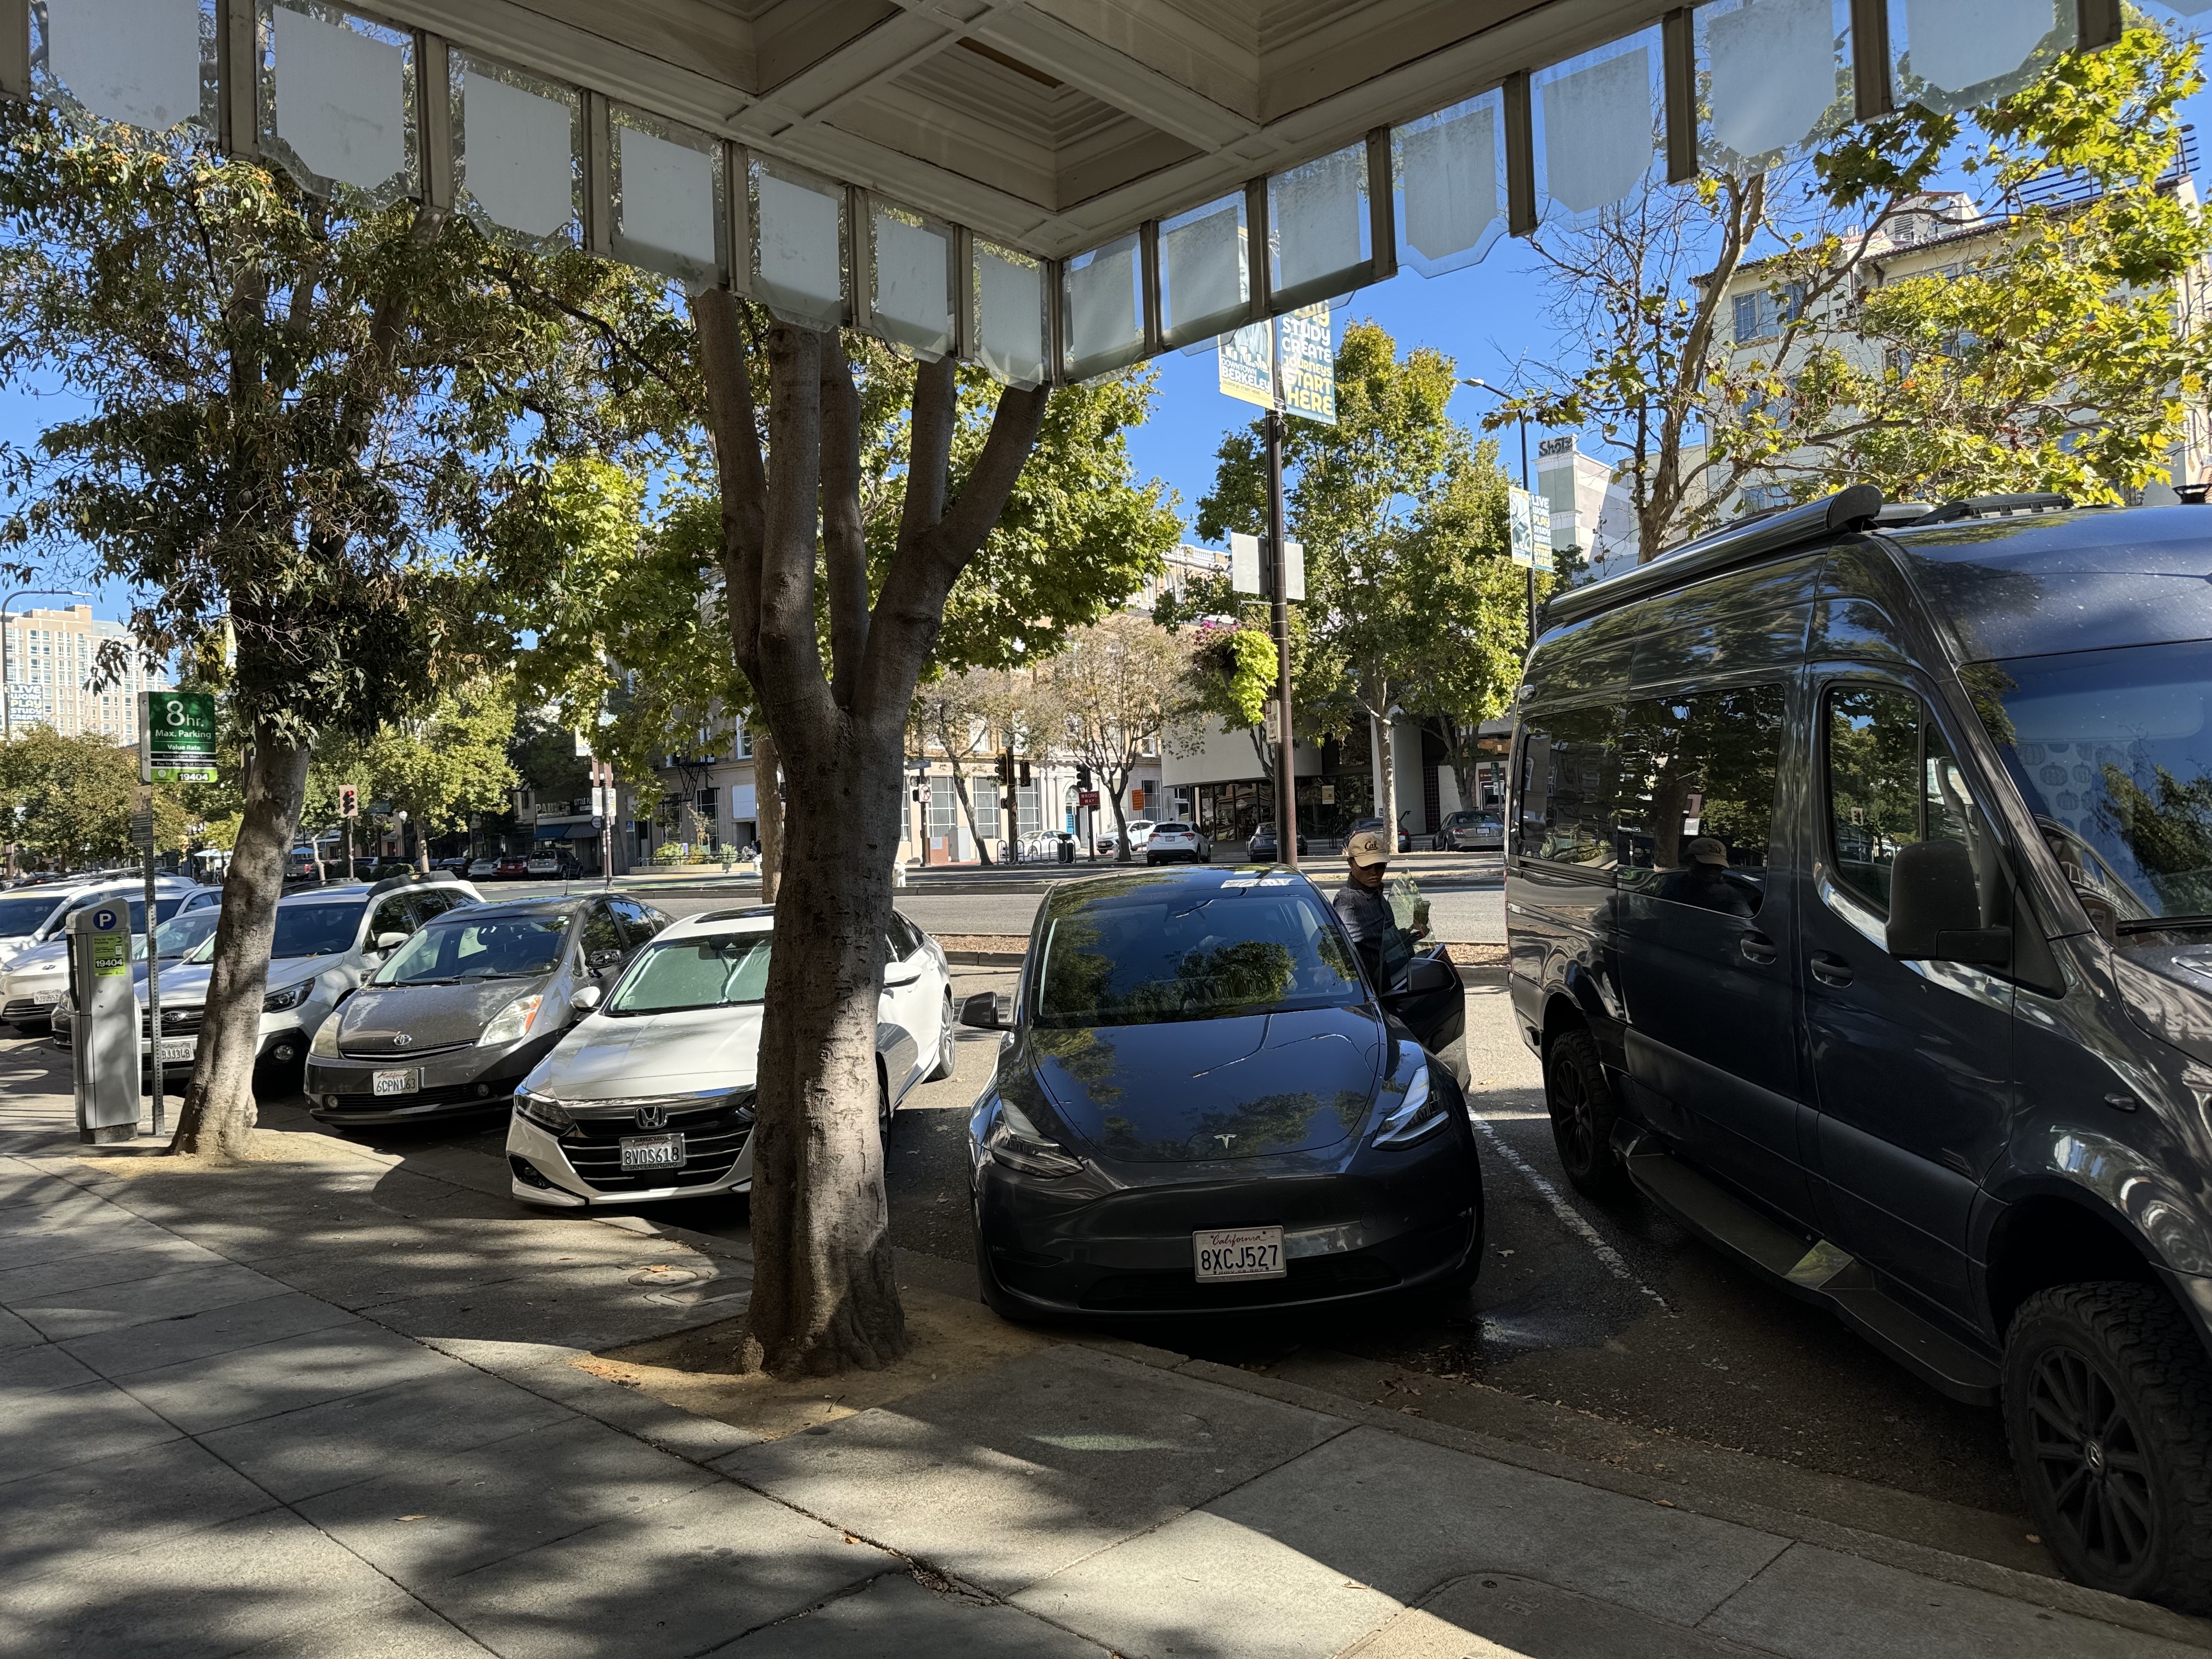
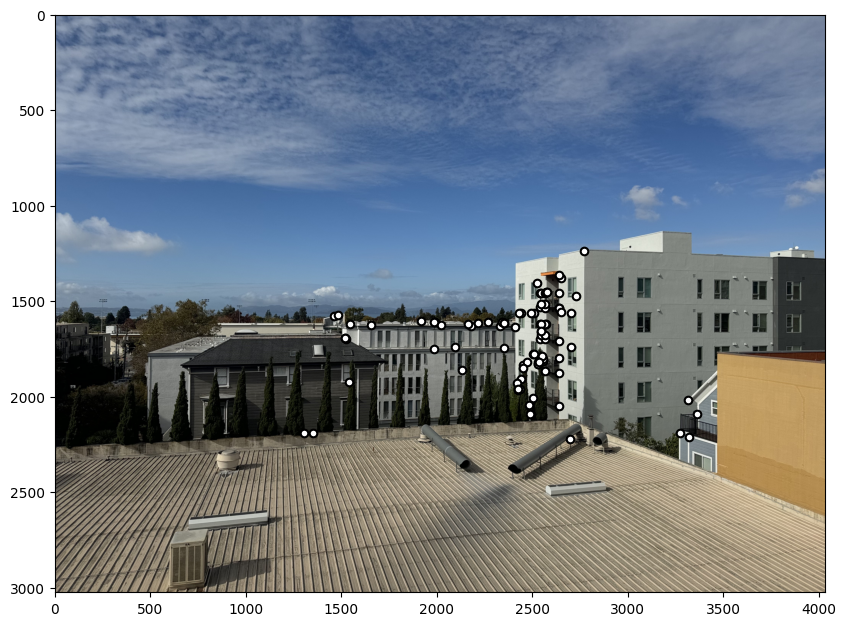
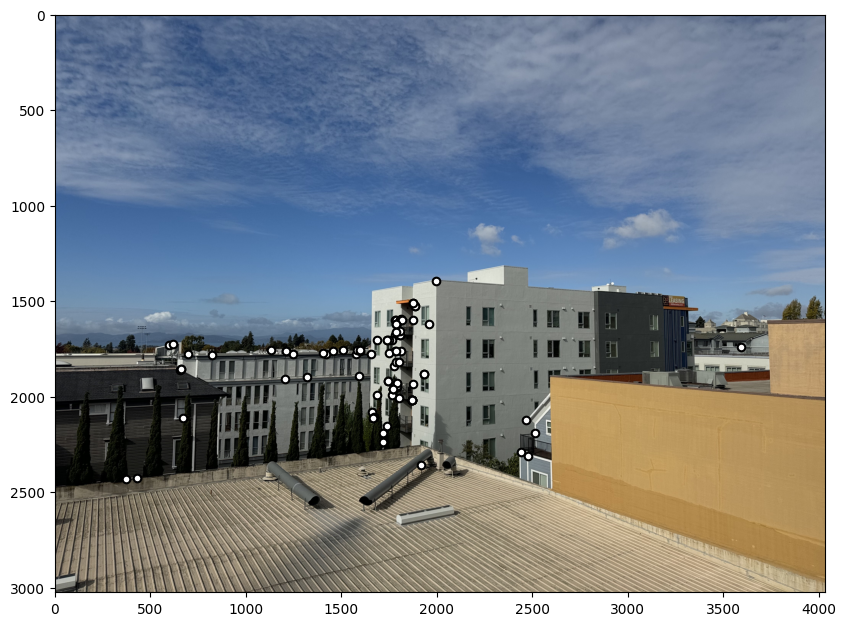
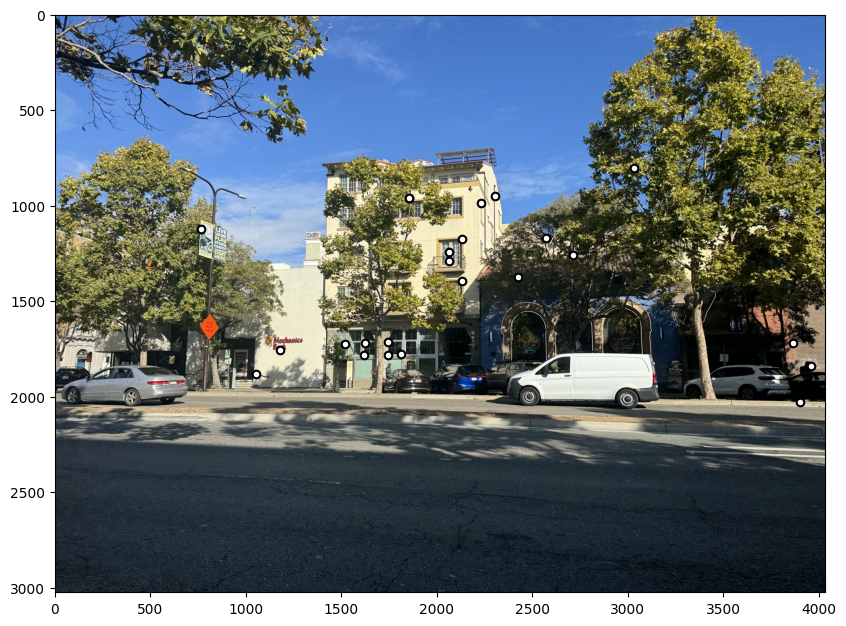
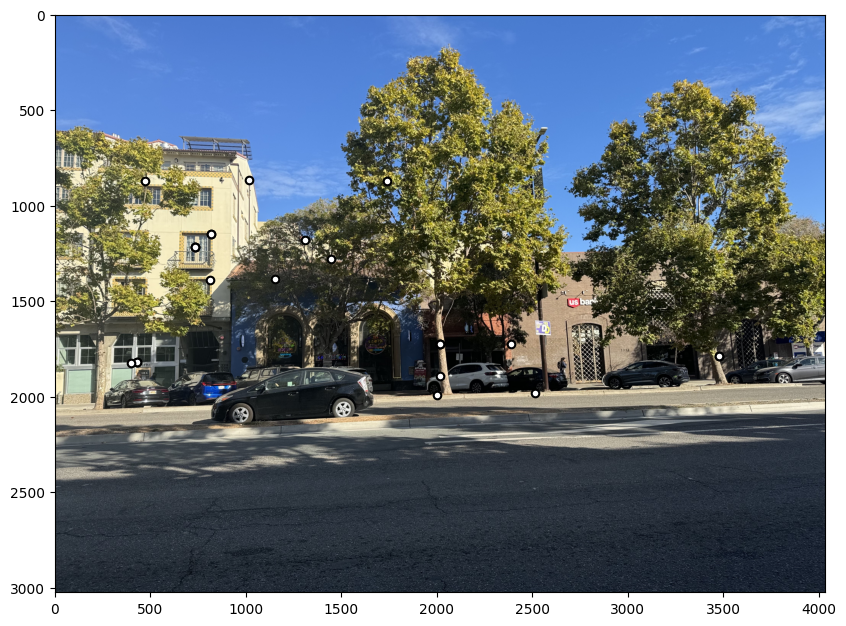
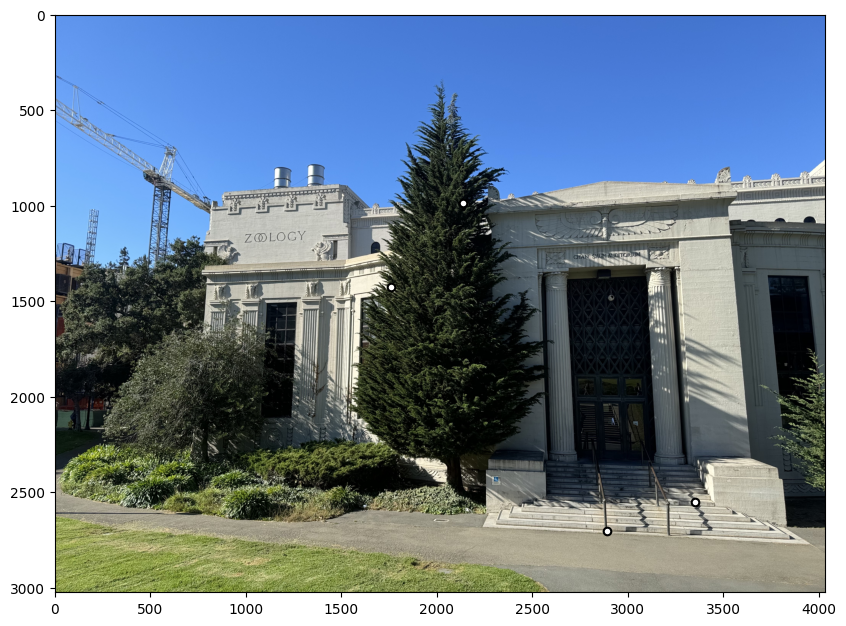
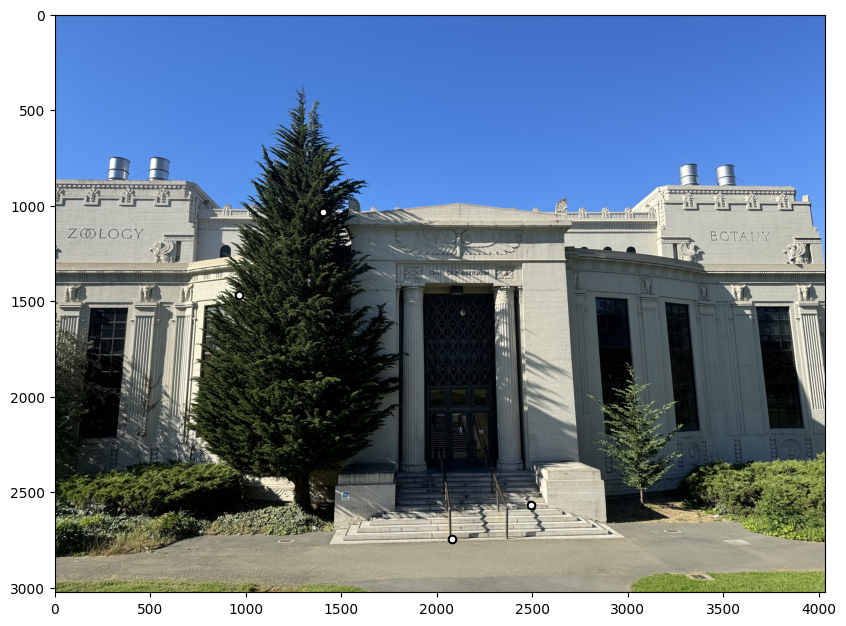
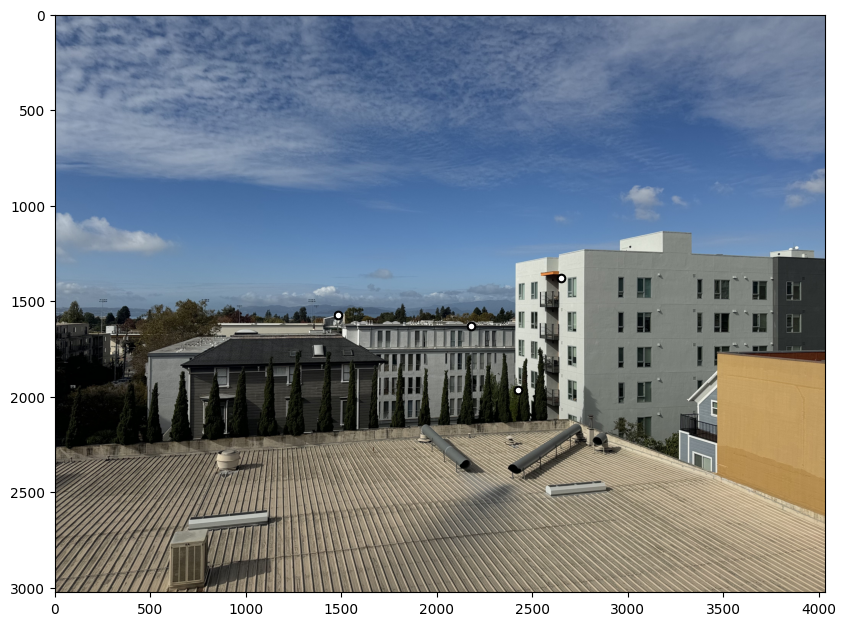
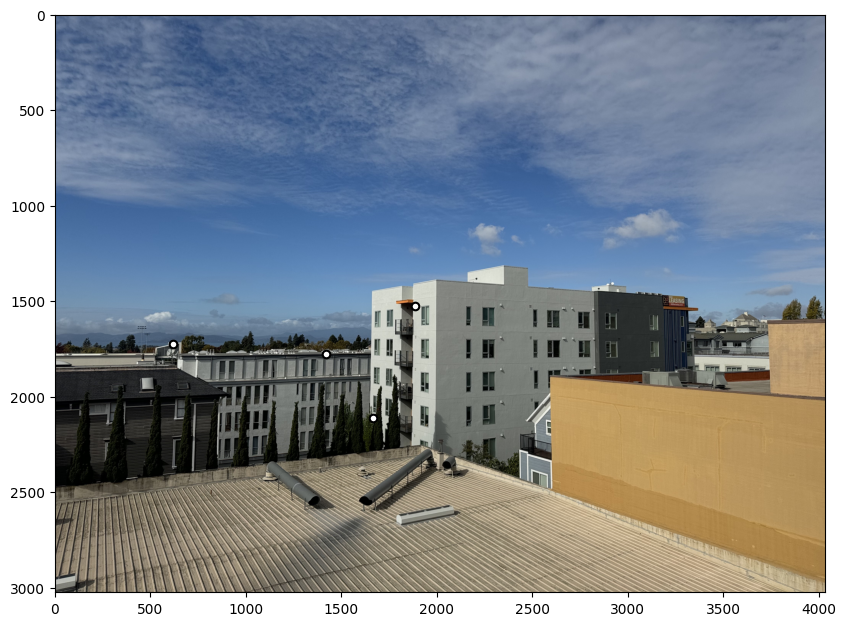
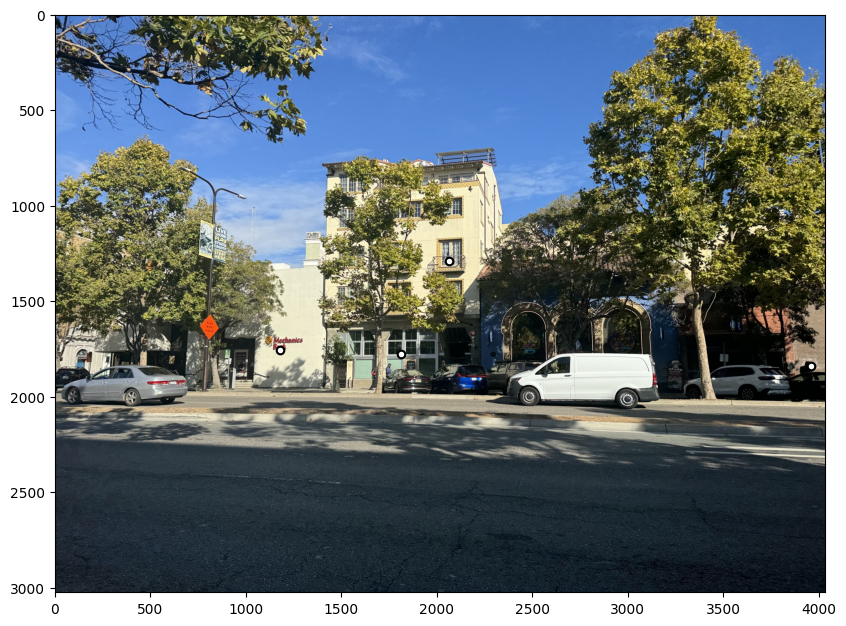
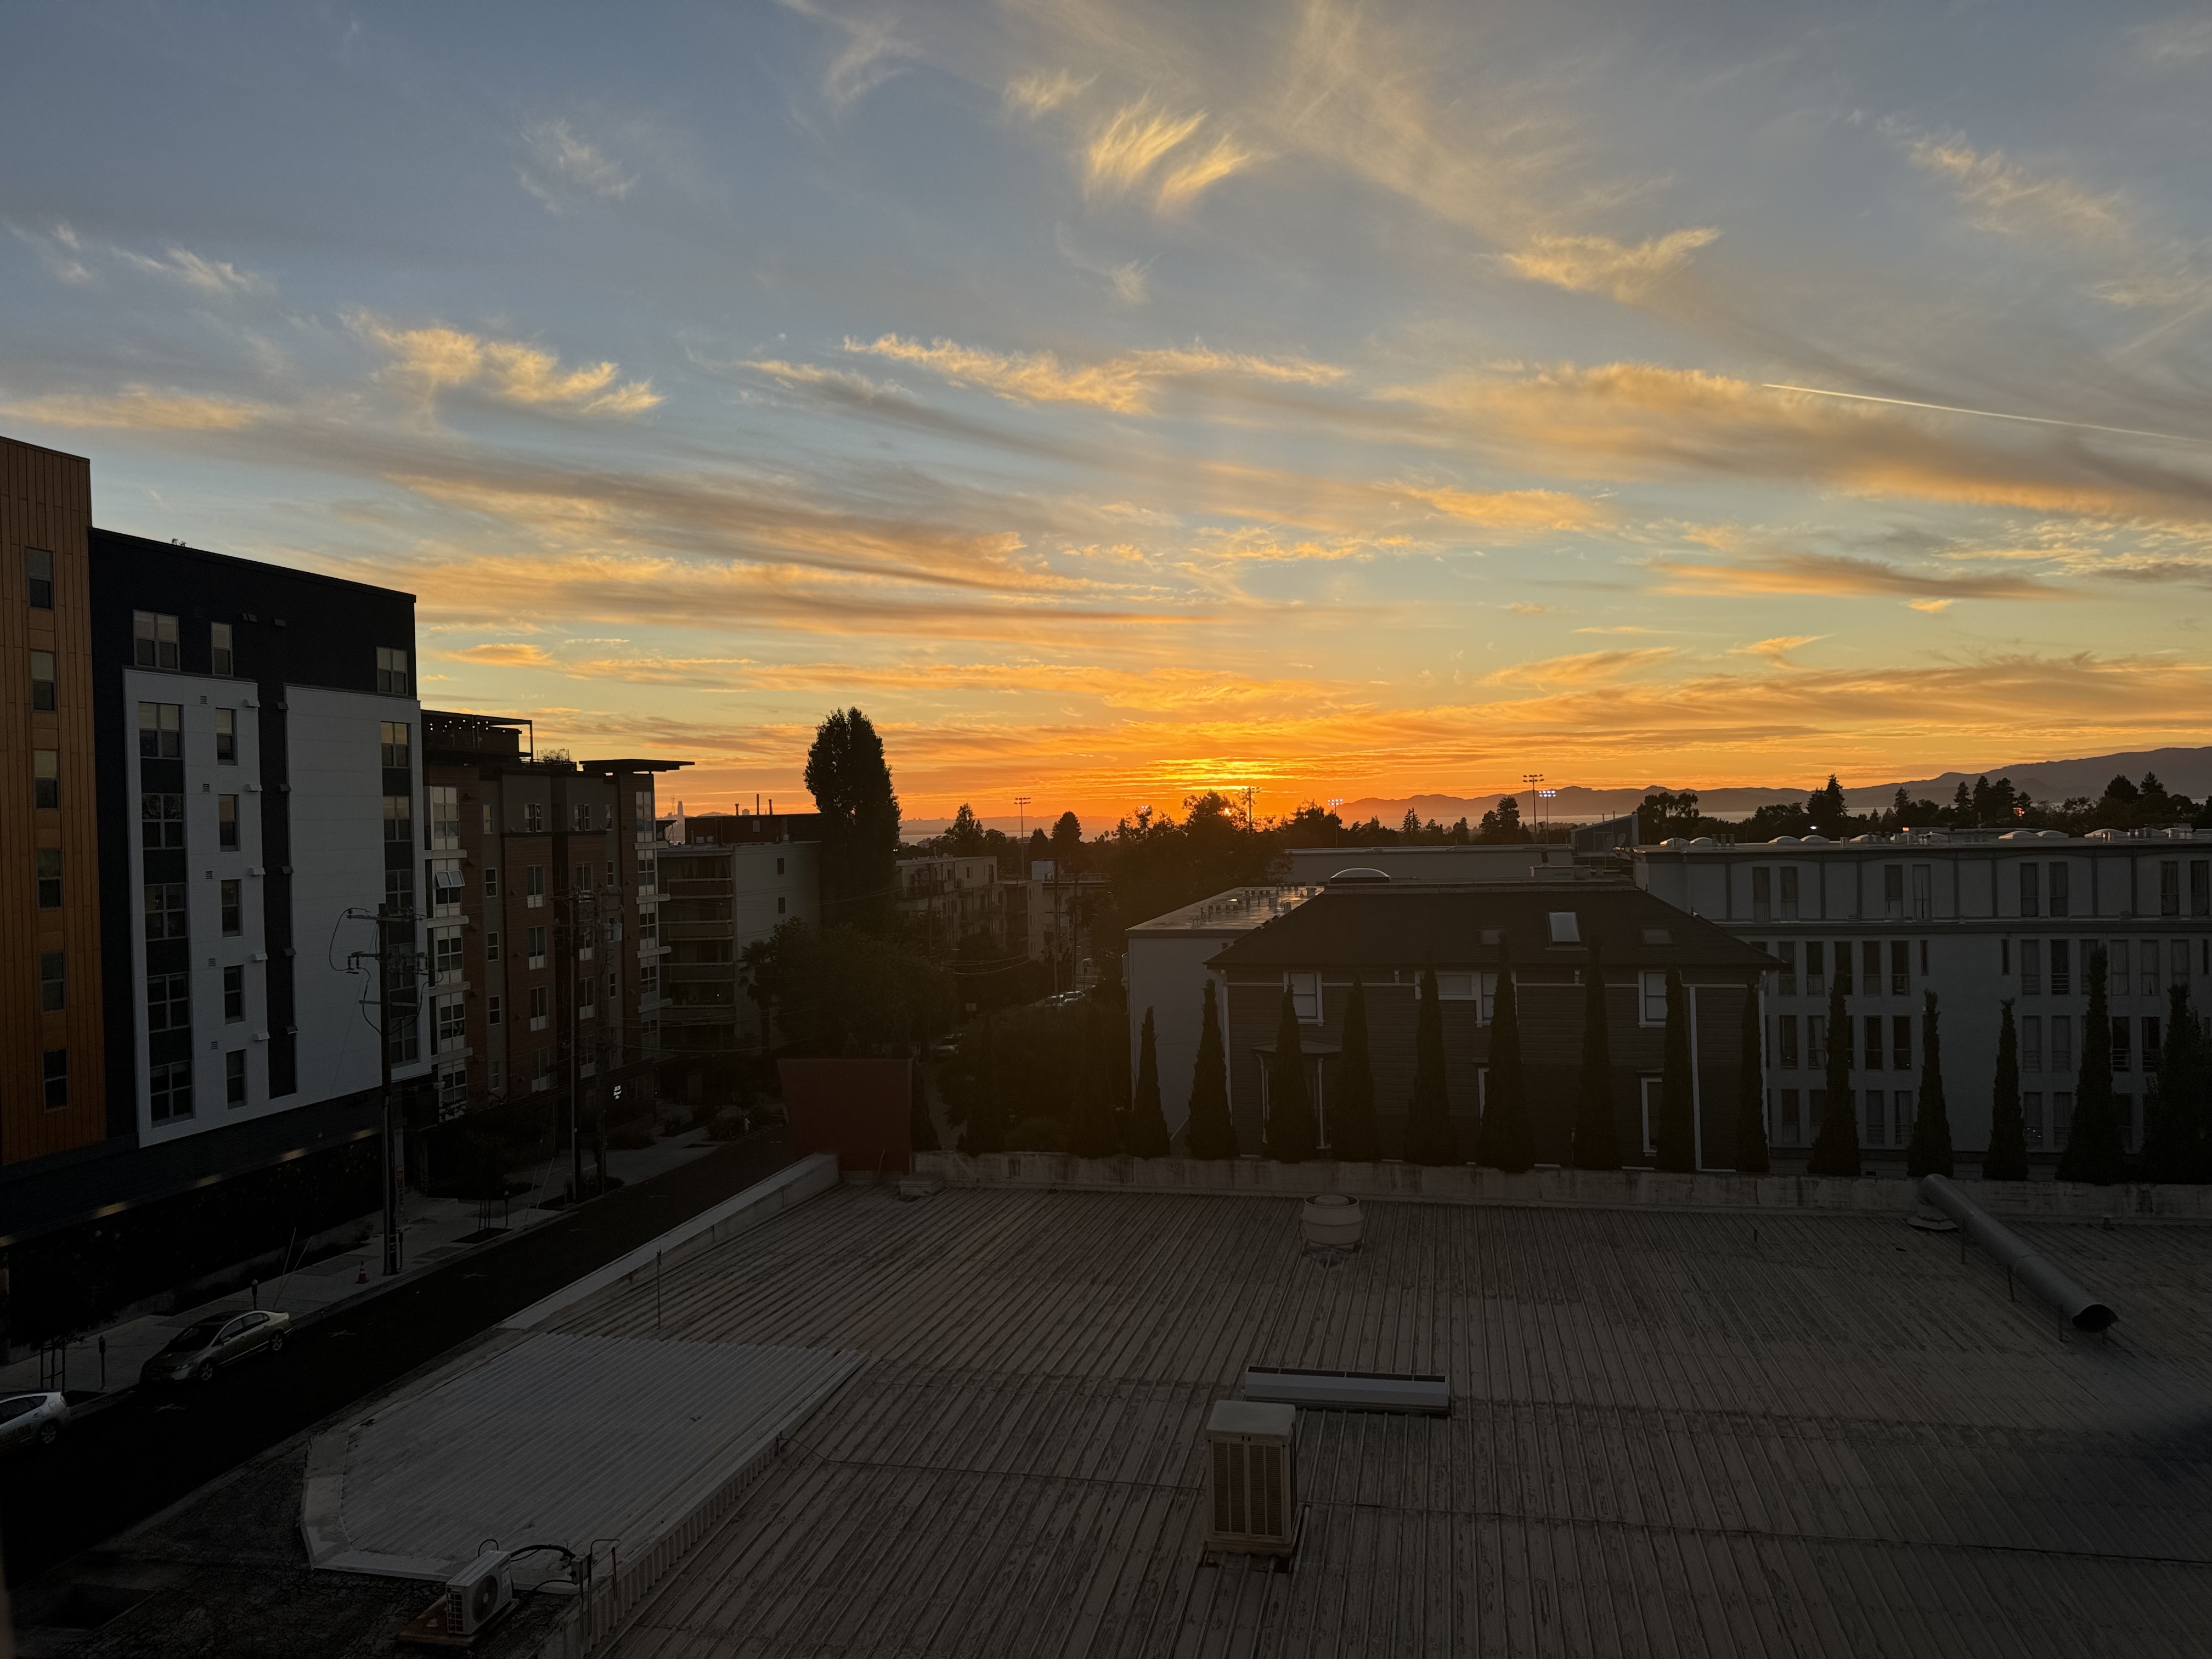
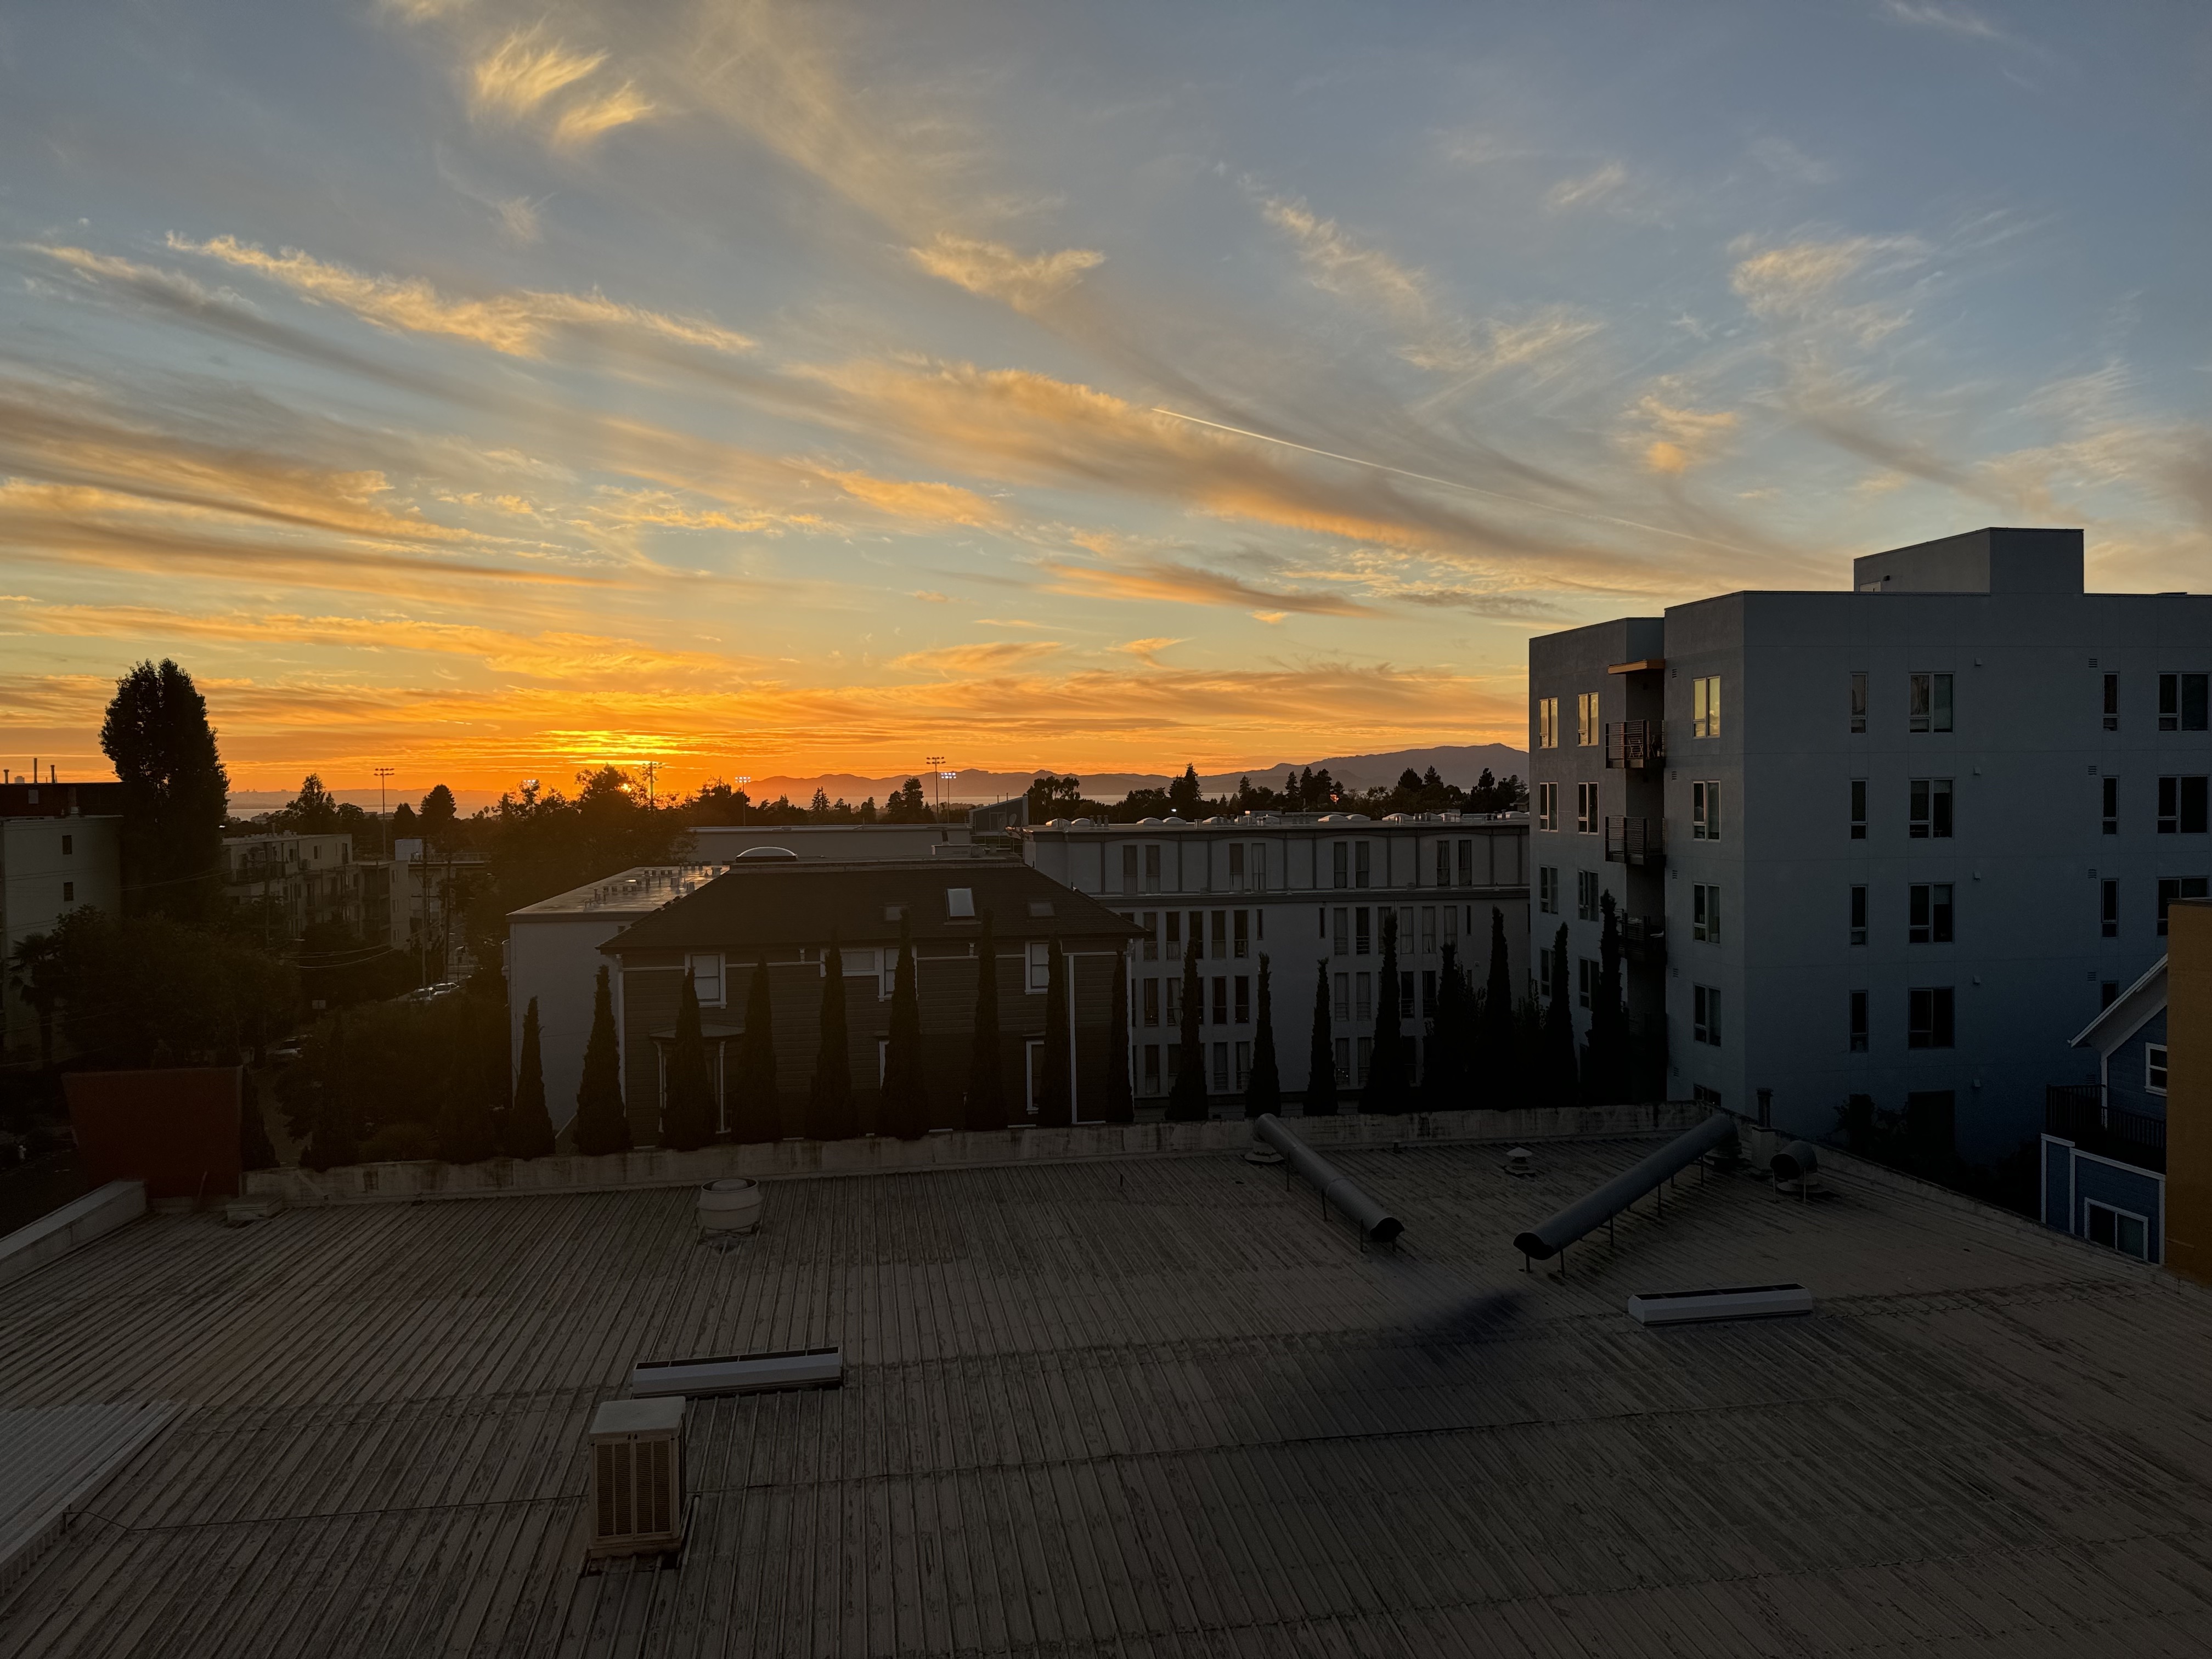
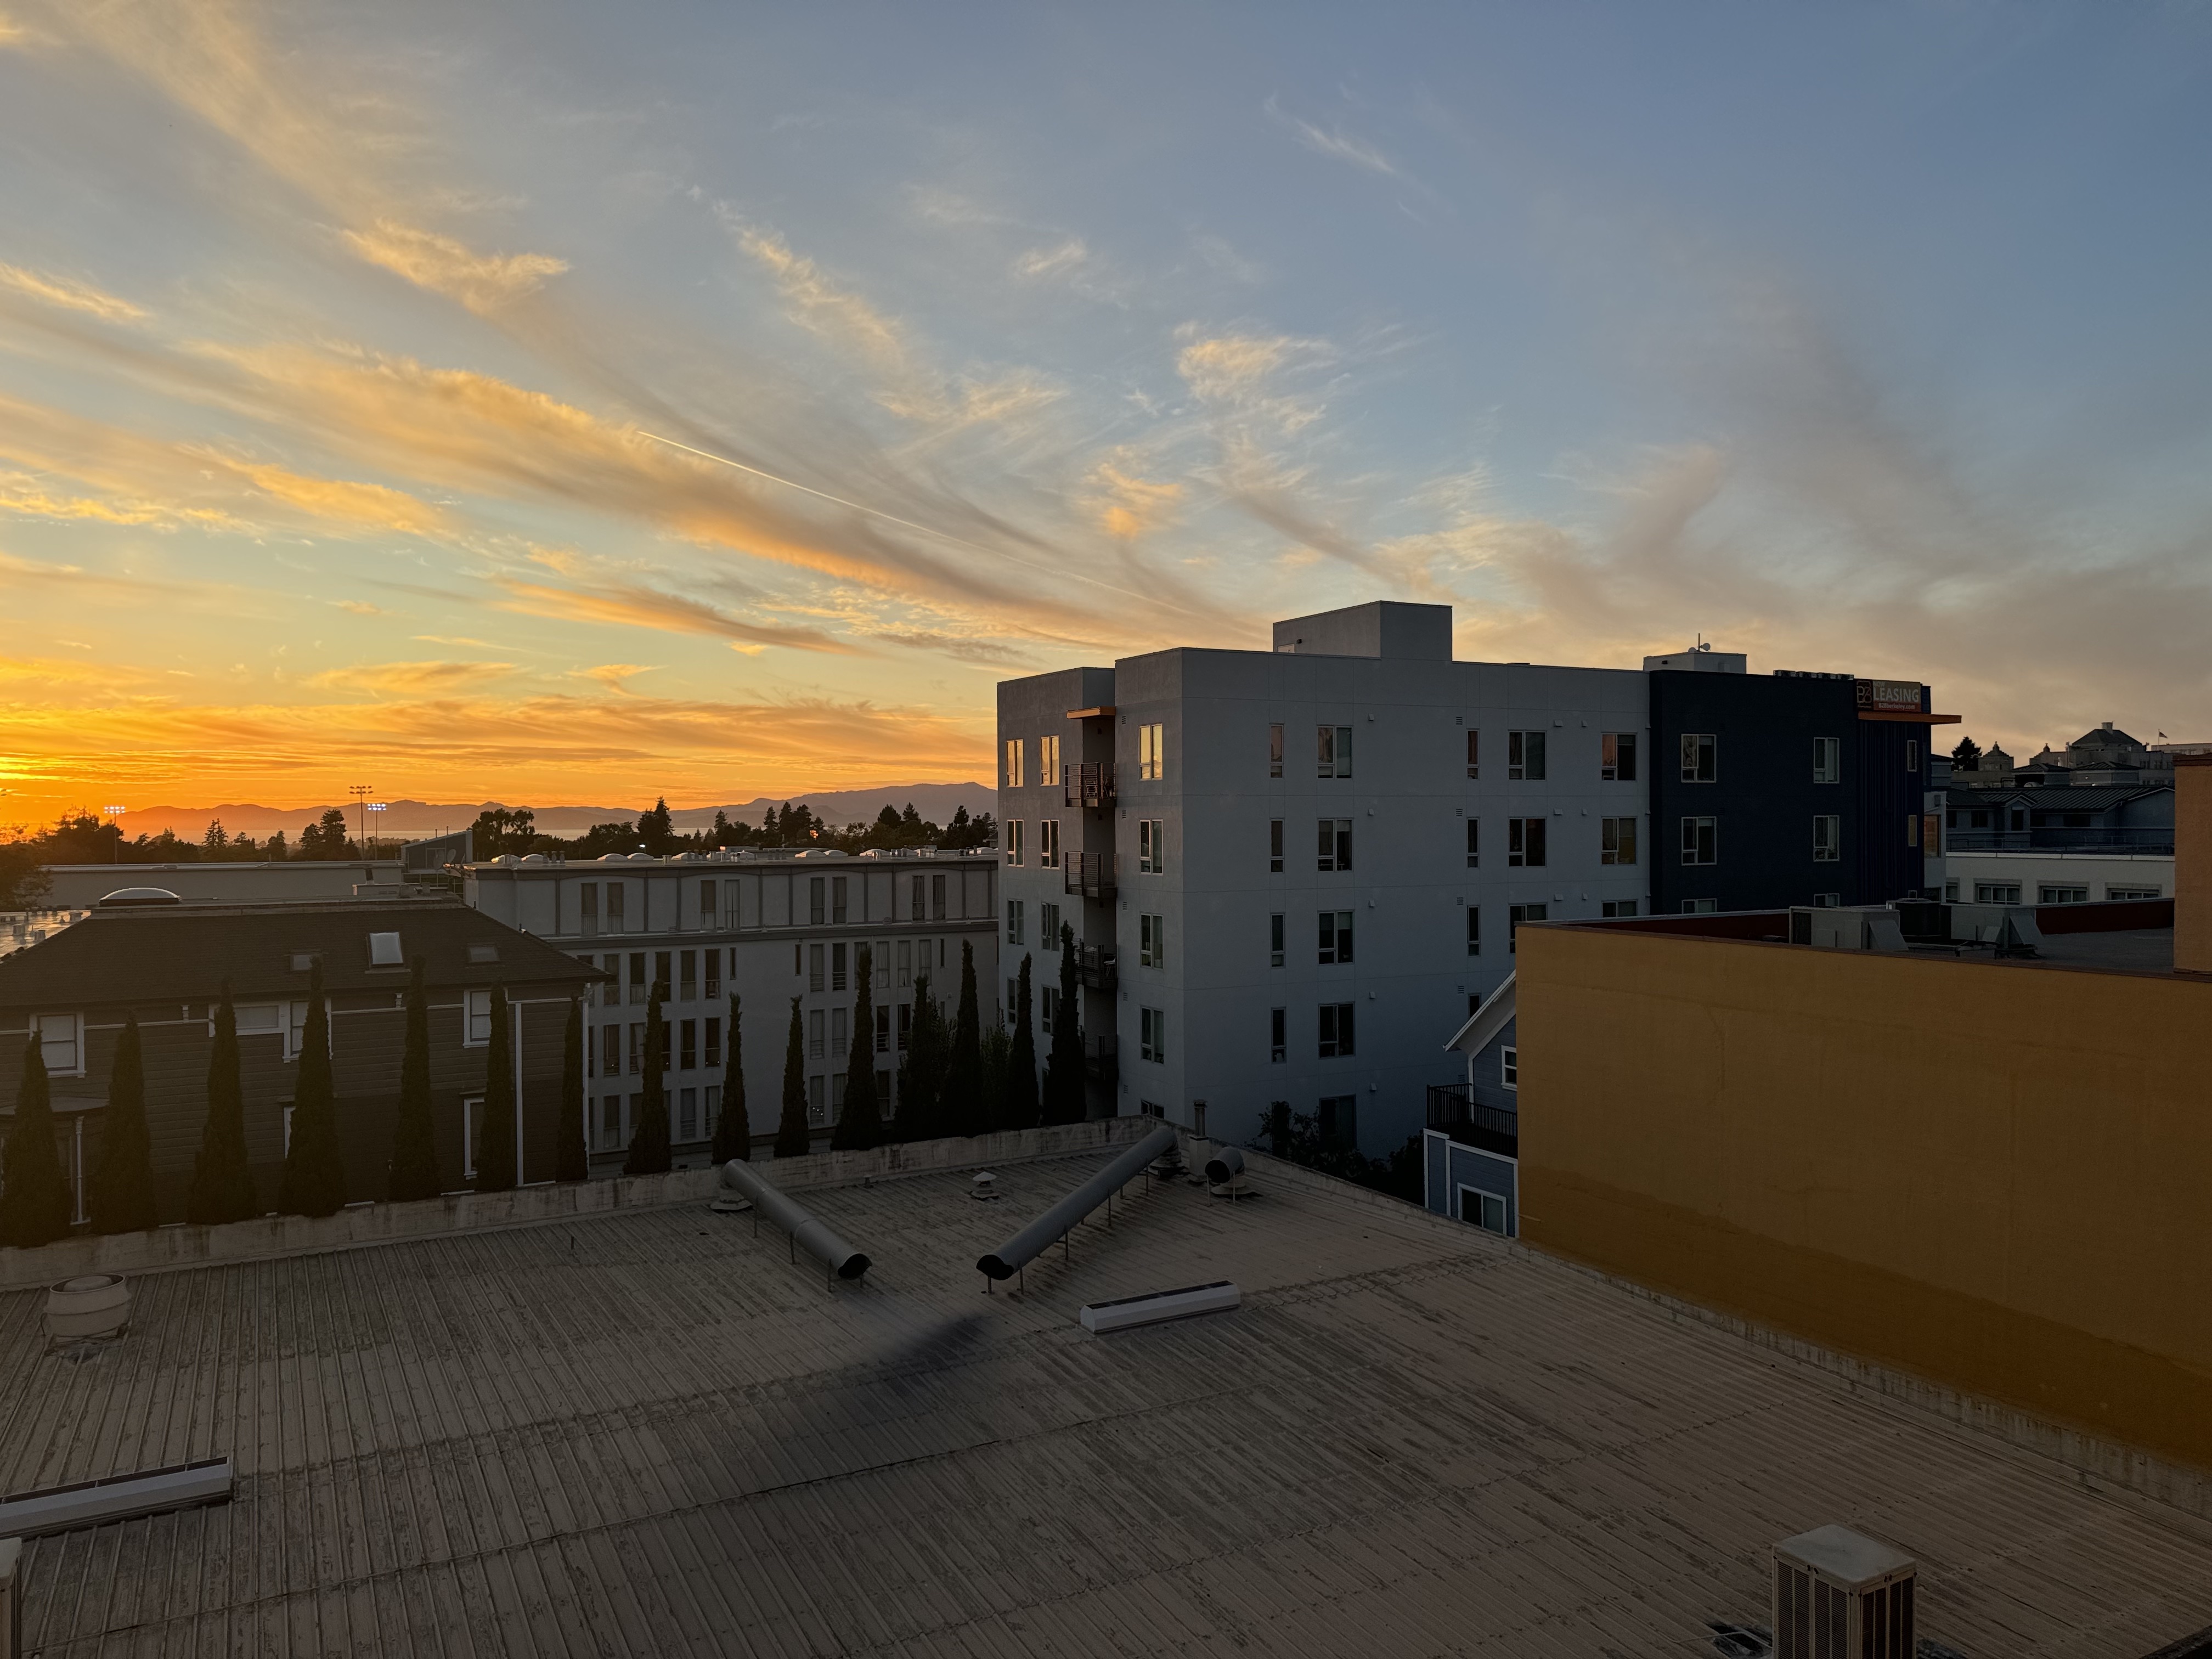
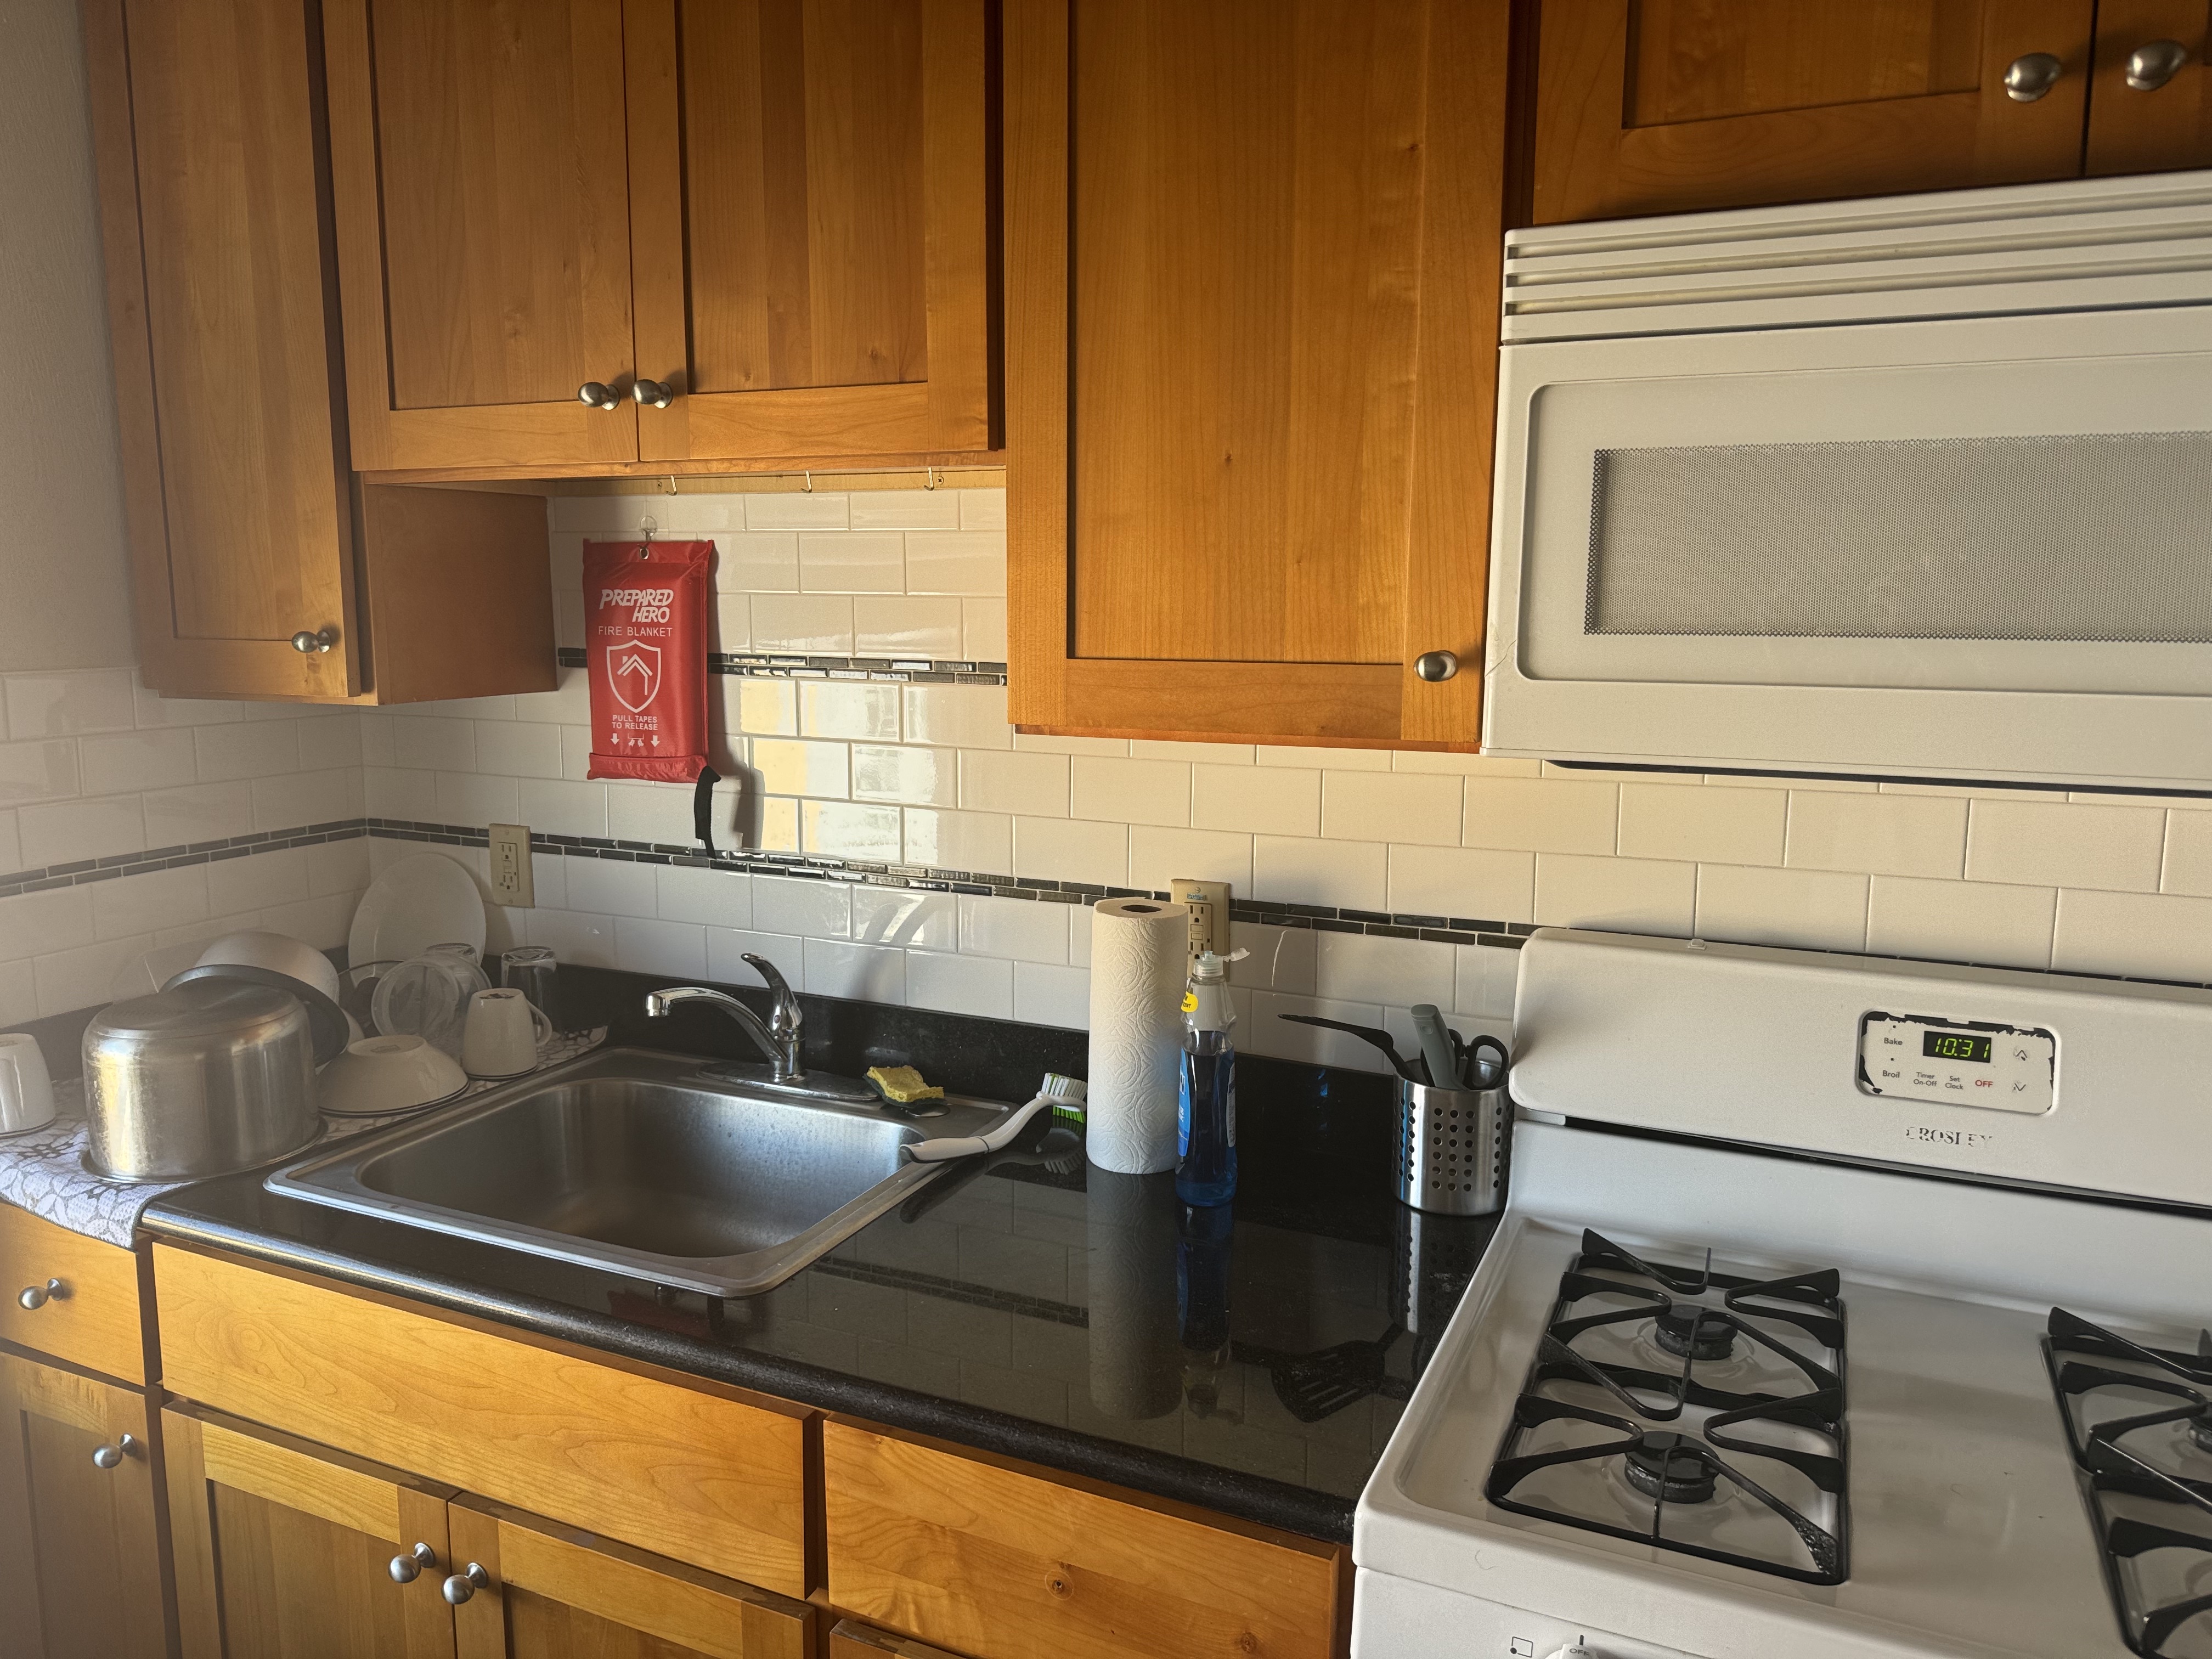
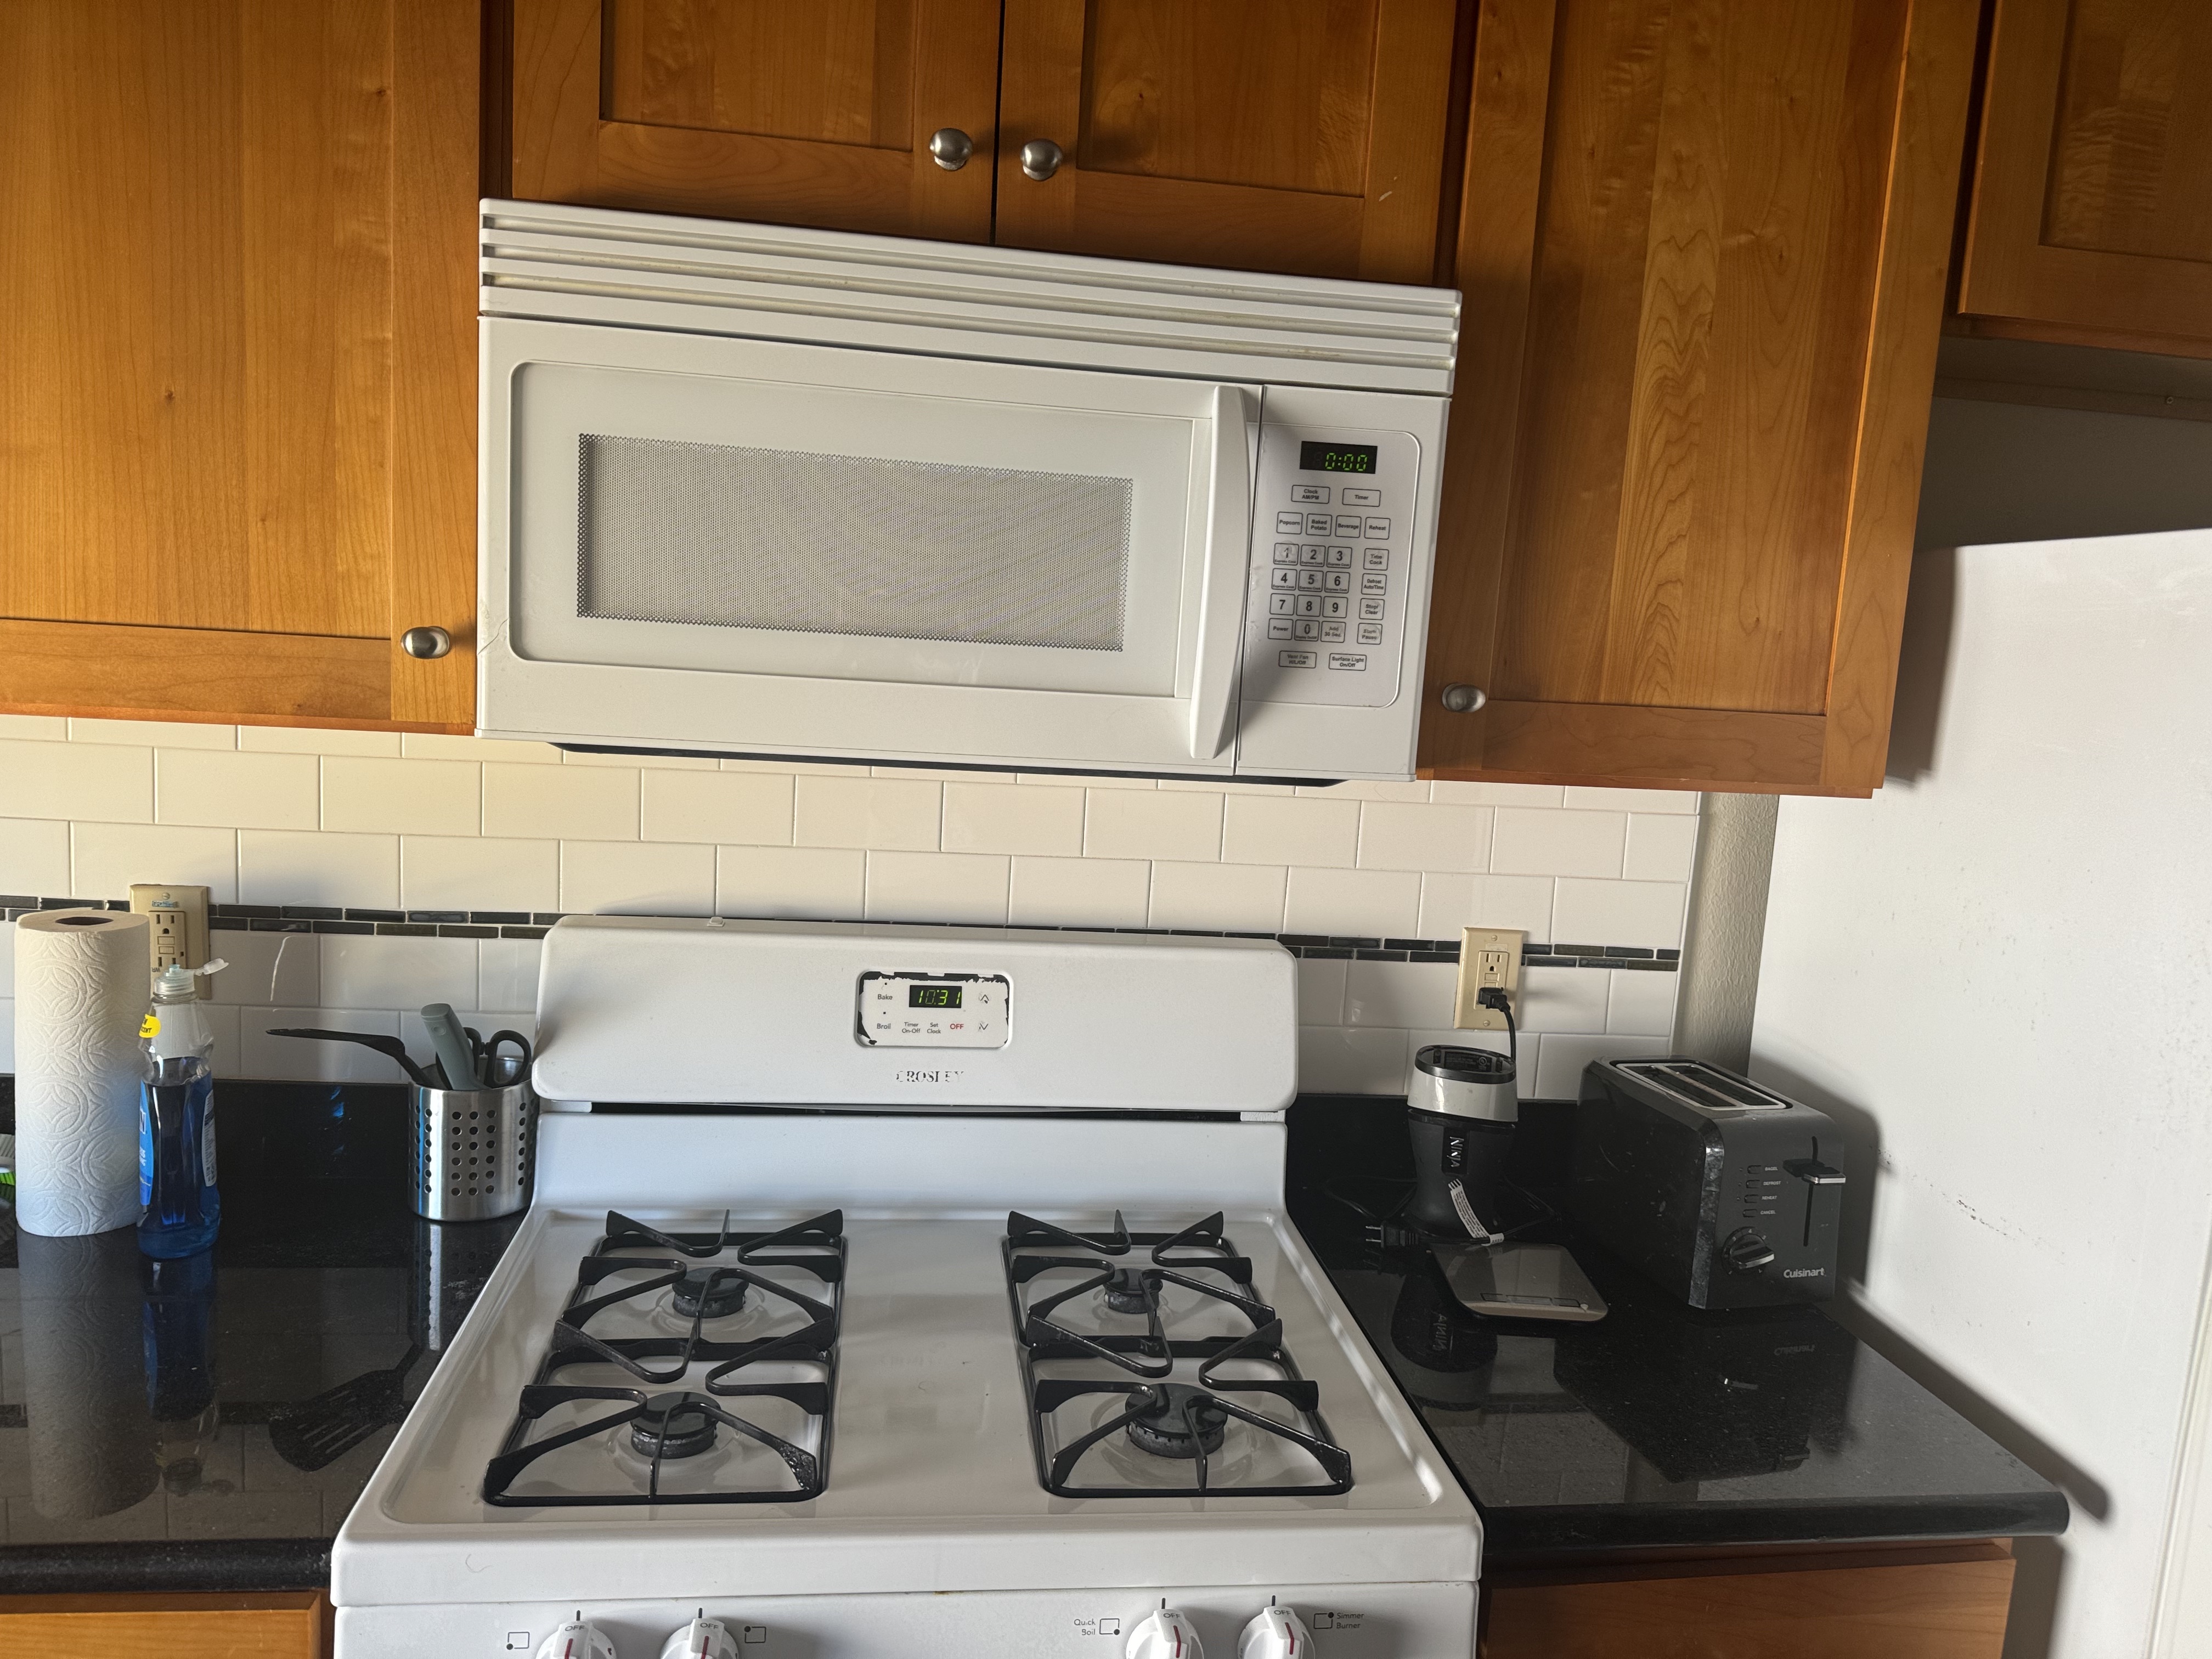
To begin I shot some pictures with large overlap such that I can stitch together to create a larger image later on in the project. Below are some examples:
Recovering Homographies

The homography matrix, \( H \), is a 3x3 matrix that maps points from one plane to another through a projective transformation. Given a set of corresponding points in two images, the goal is to find the matrix \( H \) that transforms a point \( (x, y) \) from the first image to a point \( (x', y') \) in the second image. The transformation can be written as:

\[ \begin{bmatrix} x' \\ y' \\ 1 \end{bmatrix} = H \begin{bmatrix} x \\ y \\ 1 \end{bmatrix} \]

The homography matrix \( H \) has 8 unknowns, as the last element is set to 1 for the scaling of the image. The matrix is of the form:

\[ H = \begin{bmatrix} h_{11} & h_{12} & h_{13} \\ h_{21} & h_{22} & h_{23} \\ h_{31} & h_{32} & 1 \end{bmatrix} \]

For each pair of corresponding points \( (x, y) \) in the first image and \( (x', y') \) in the second image, we can derive two linear equations by rearranging the transformation:

\[ x' = \frac{h_{11}x + h_{12}y + h_{13}}{h_{31}x + h_{32}y + 1}, \quad y' = \frac{h_{21}x + h_{22}y + h_{23}}{h_{31}x + h_{32}y + 1} \]

Multiplying both sides by the denominators to eliminate the fractions, we get:

\[ x'(h_{31}x + h_{32}y + 1) = h_{11}x + h_{12}y + h_{13} \] \[ y'(h_{31}x + h_{32}y + 1) = h_{21}x + h_{22}y + h_{23} \]

Rearranging terms, we obtain a system of linear equations of the form \( A h = b \), where \( h \) is the vector of unknowns:

\[ A = \begin{bmatrix} x & y & 1 & 0 & 0 & 0 & -x'x & -x'y \\ 0 & 0 & 0 & x & y & 1 & -y'x & -y'y \end{bmatrix} \]

\[ b = \begin{bmatrix} x' \\ y' \end{bmatrix} \]

By stacking these equations for all corresponding points, we can solve the linear system using least squares to estimate the homography matrix \( H \).
Rectifying The Image

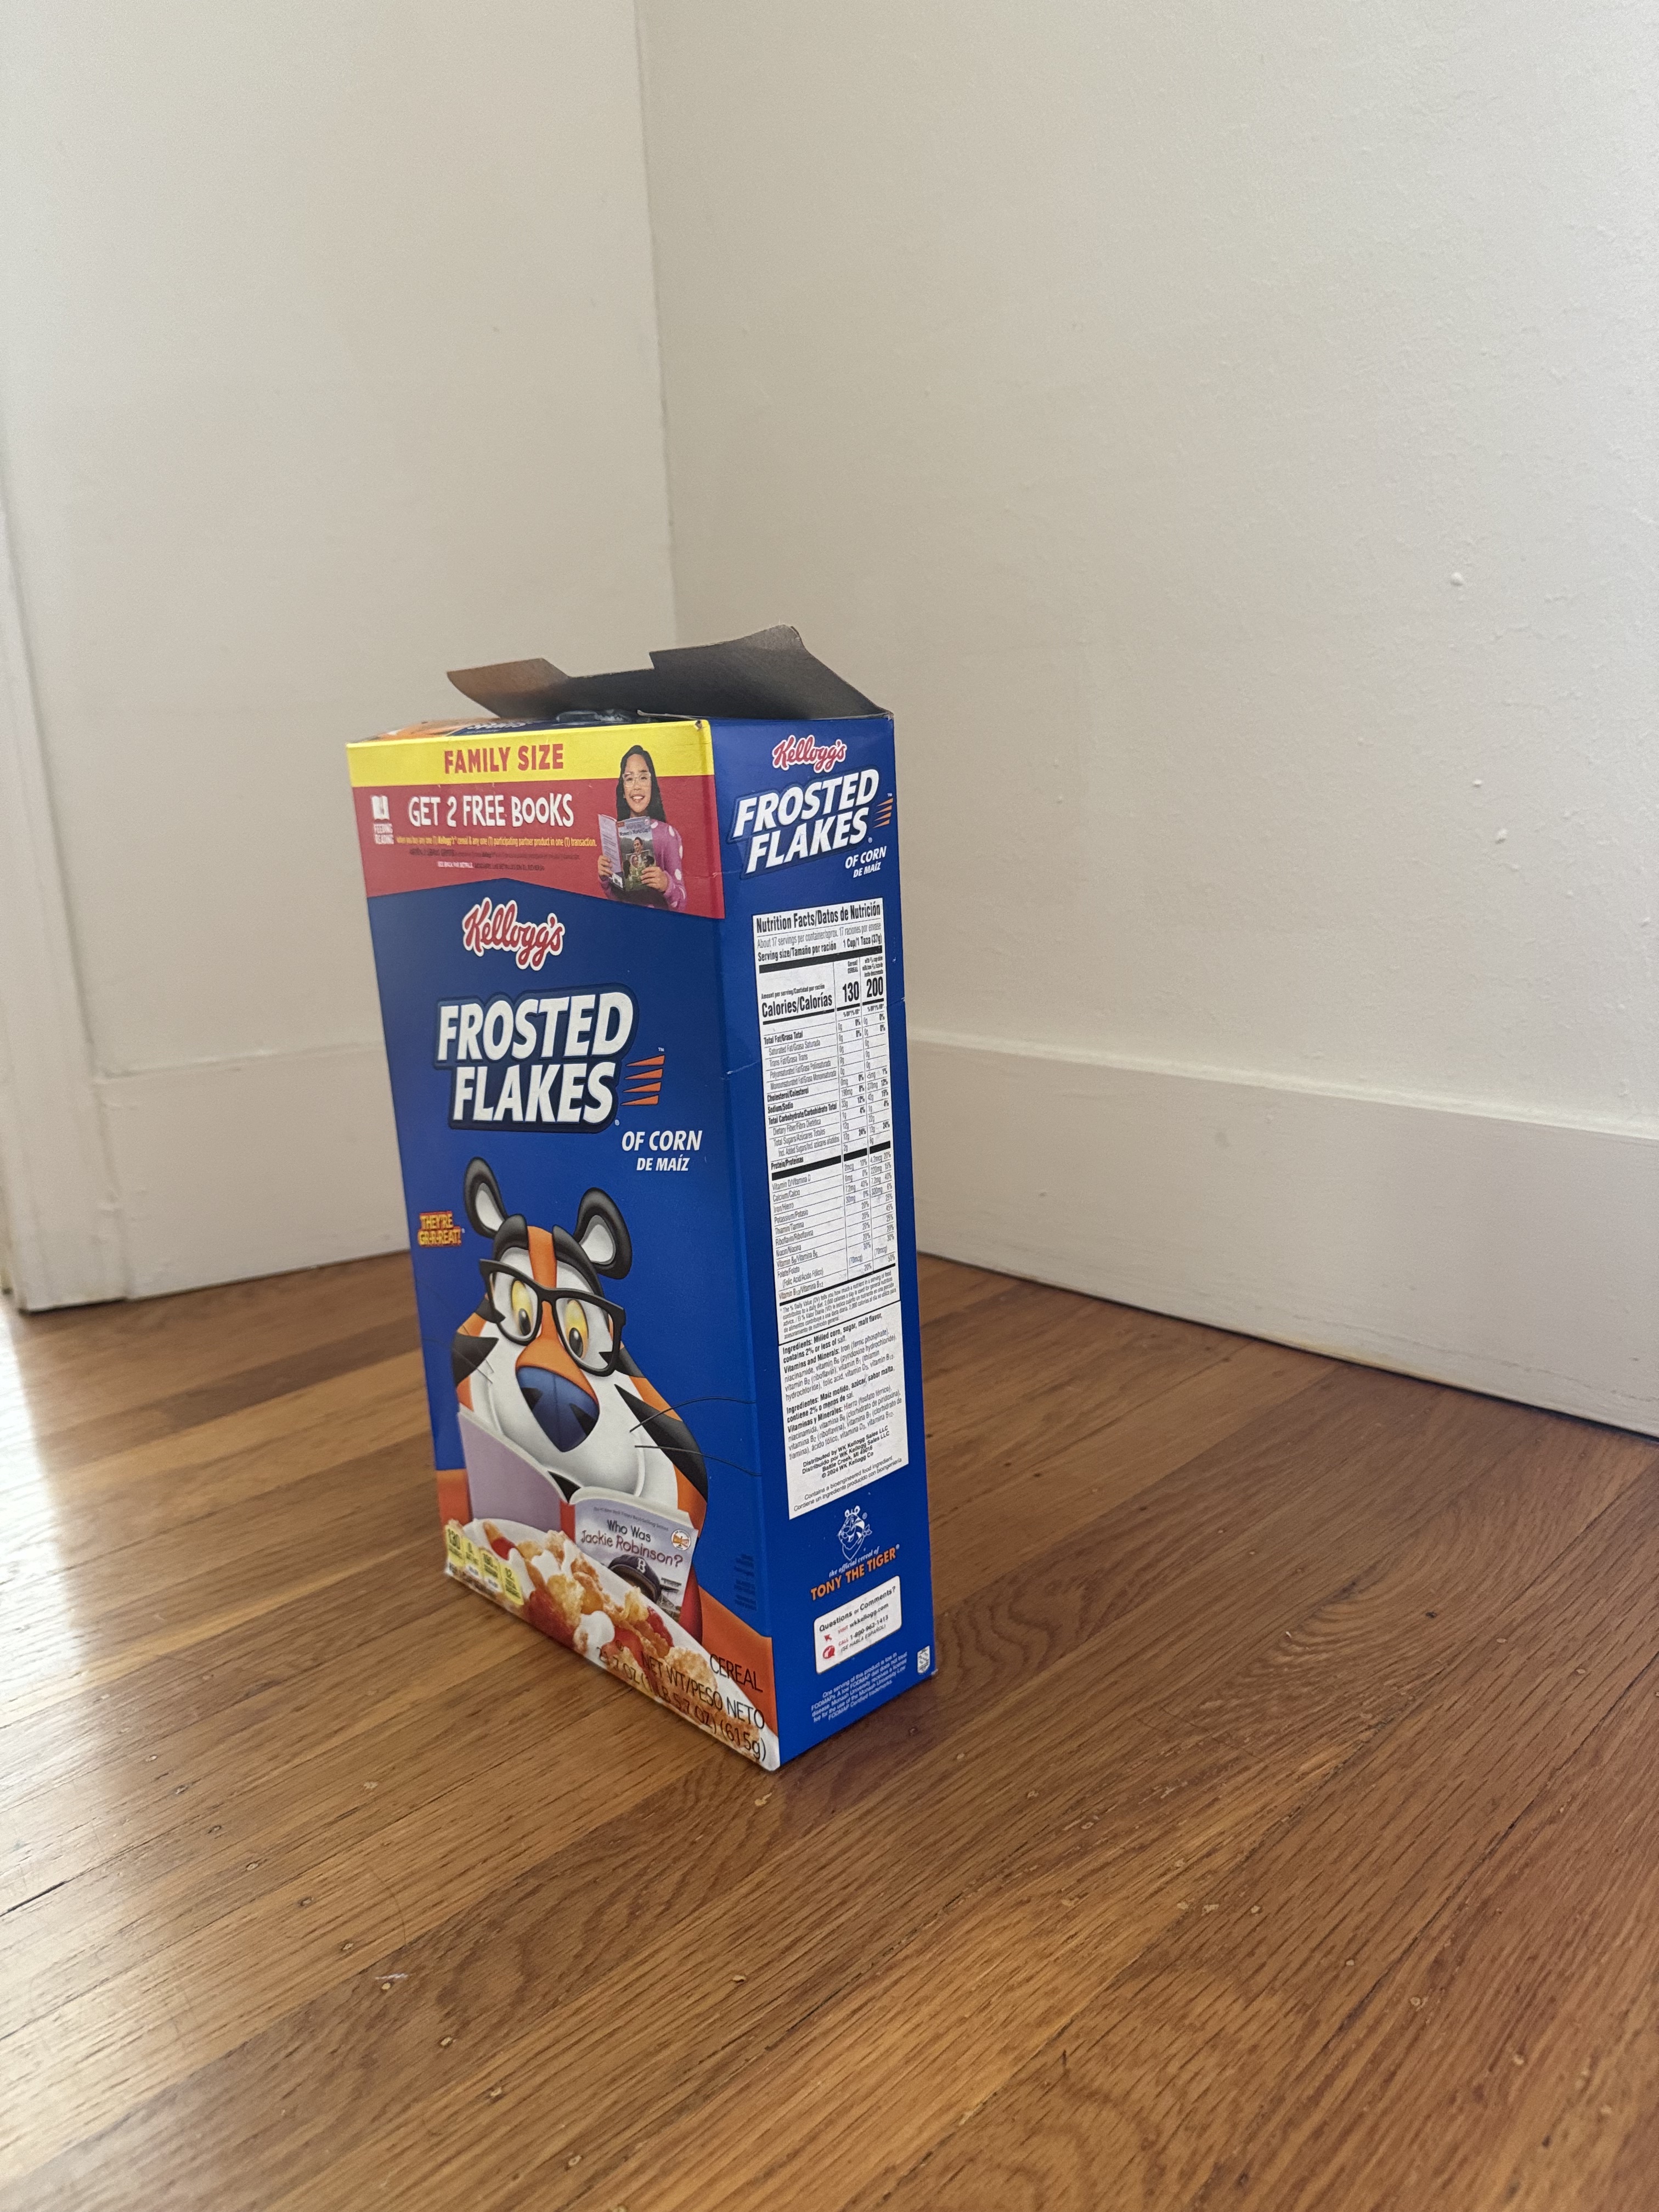
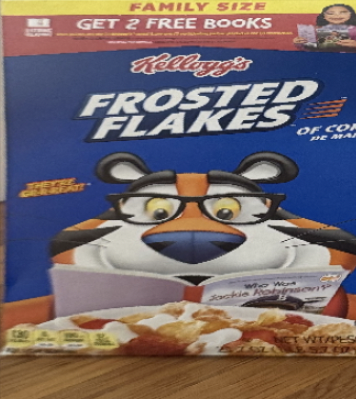
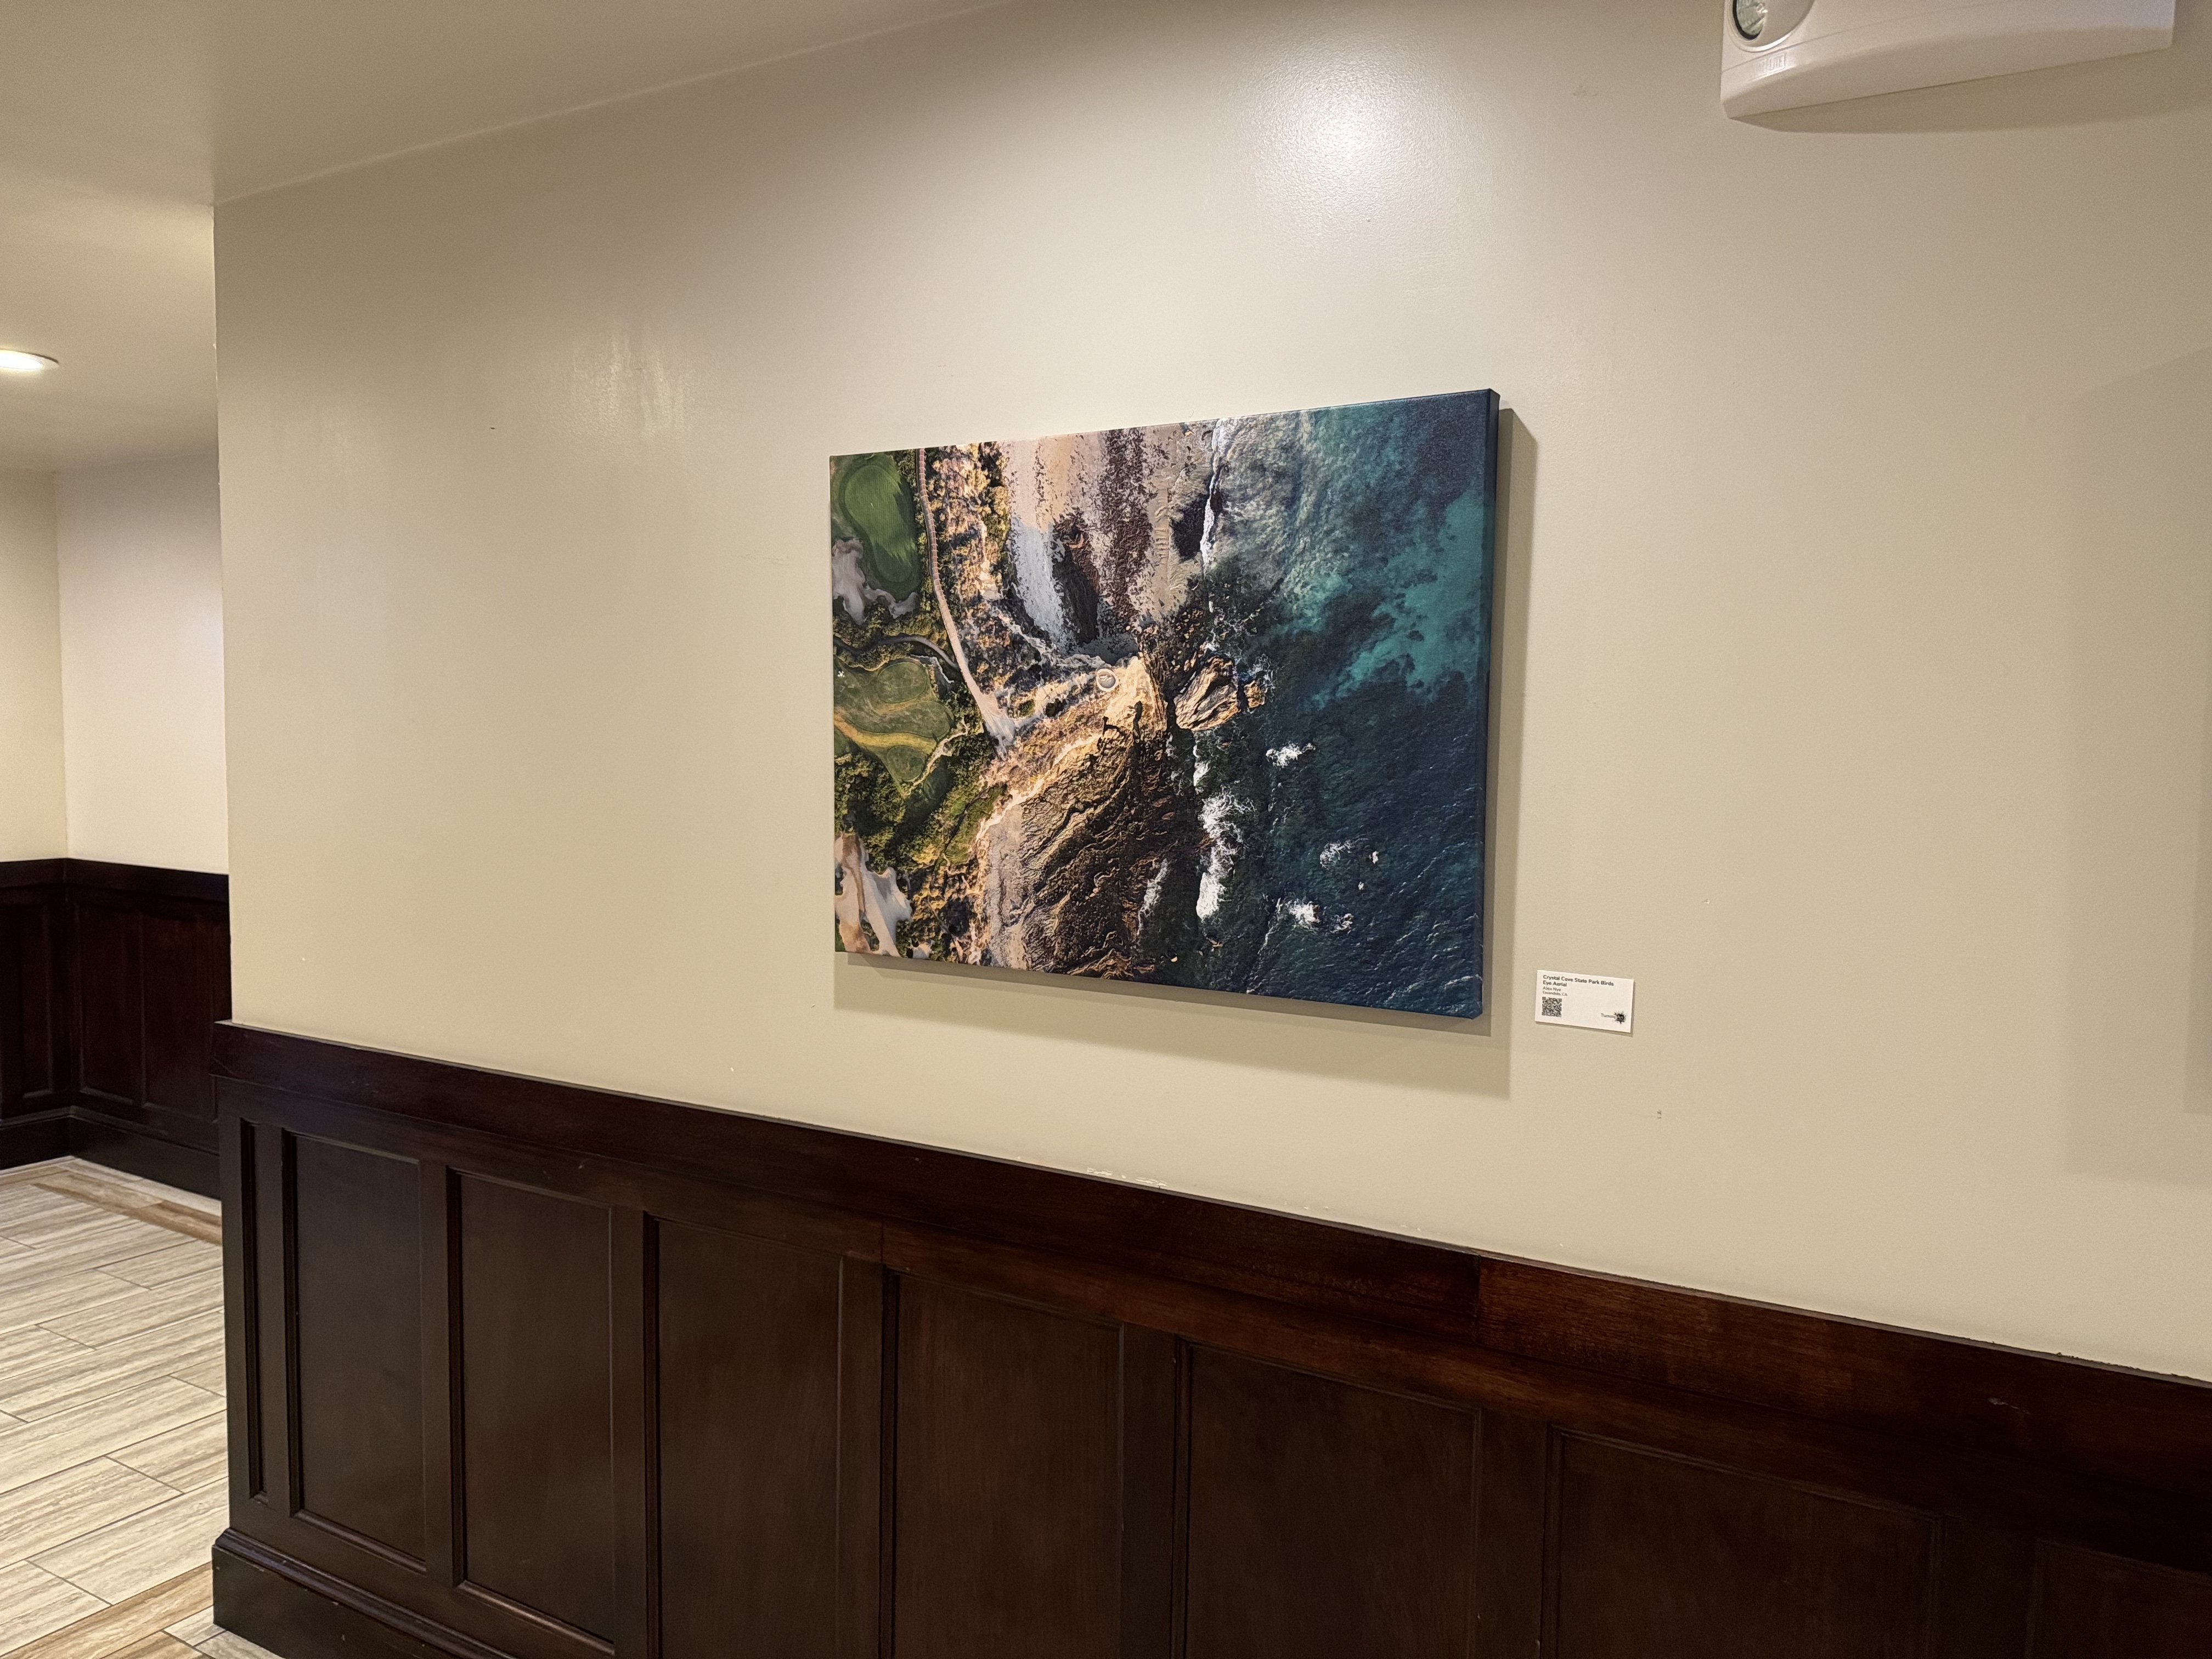
Rectification is the process of transofrming an image to appear from a different perspective. In the following examples I take a side view and show the front view of all three objects. First the user selects 4 corner points of the object of the angled image. Then I compute the Homogrophy matrix for the image to map it to a perfect rectangle, a front facing view. I then use the matrix to warp the image into the new perspective. In the warping function, I first generate a grid of coordinates corresponding to the pixel positions in the output (rectified) image. To map each pixel from the output image back to the corresponding location in the input image, we apply the inverse homography matrix. I then normalize and map each point from the warped image to the original forming the warped image.
Creating Mosaics

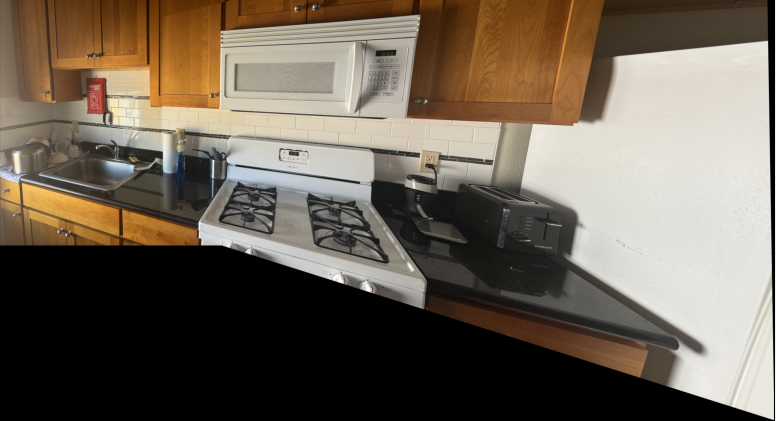
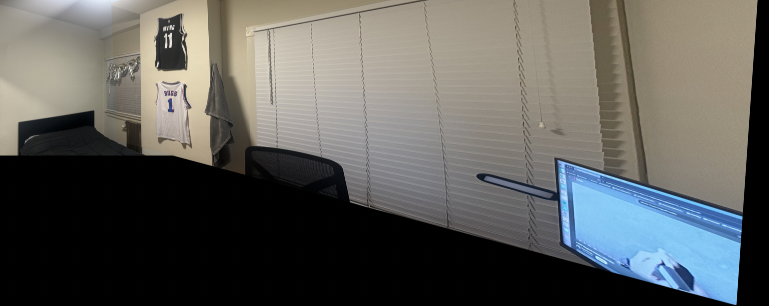
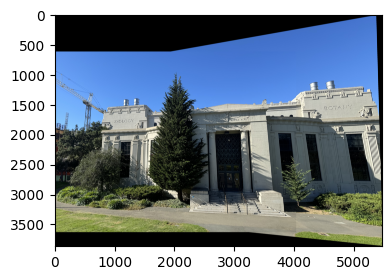
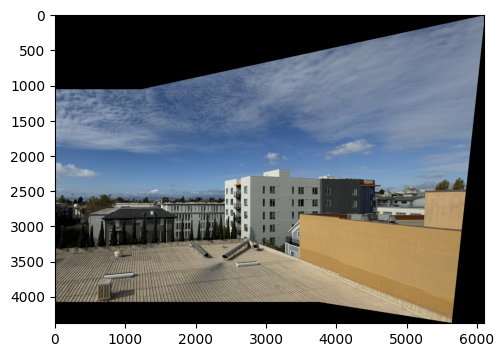
For creating the mosaics below I used the same process for all three. I first selected 20 common points in the right and left image. I used the left image as a base and warped my right image to match. The warping process involved using the homogrophy matrix described before. To manage the warped image dimensions and uniformity between the two dimensions, I calculated bounding boxes. This allowed me to set the dimensions of the canvas so that I could then blend the two images together onto the canvas.

Project 4b: Feature Matching for Autostitching

Detecting Corner Features in an Image

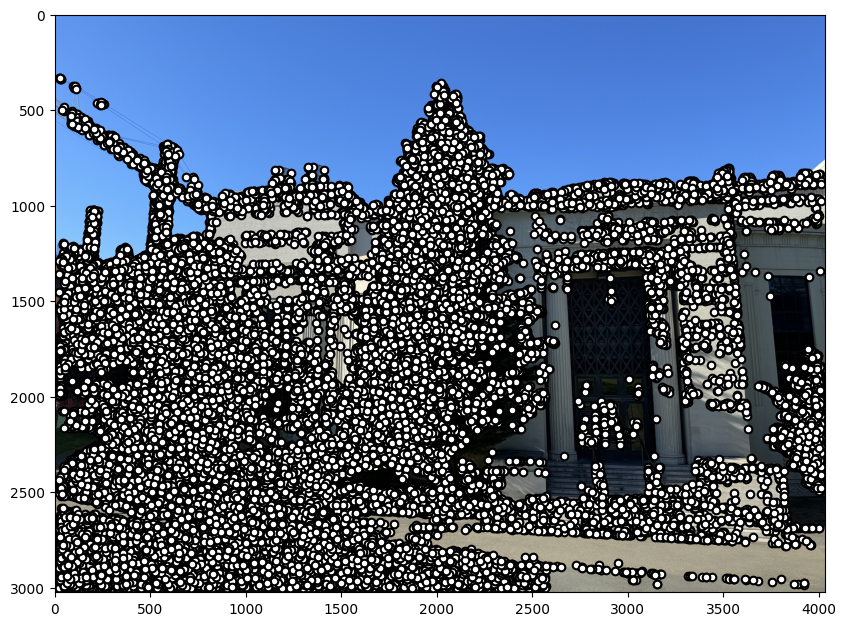
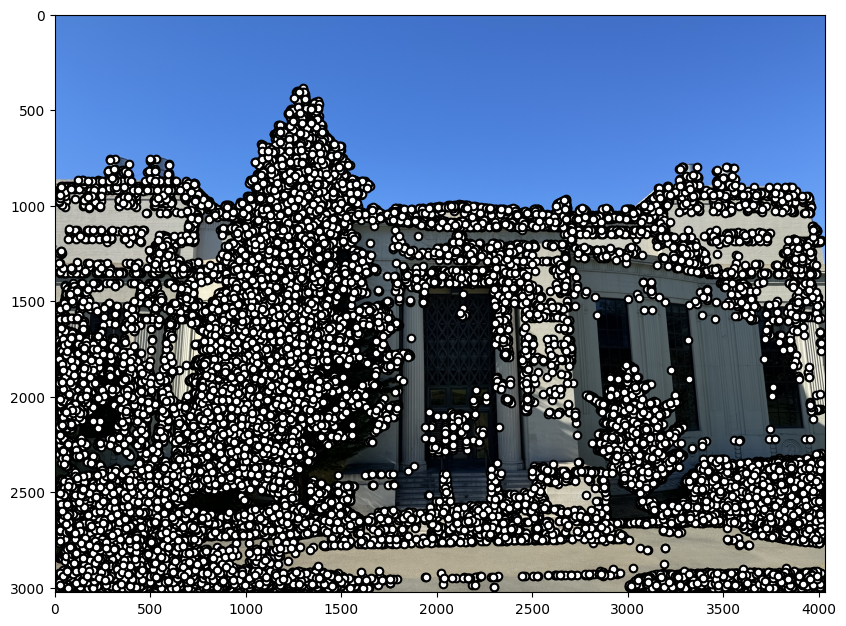
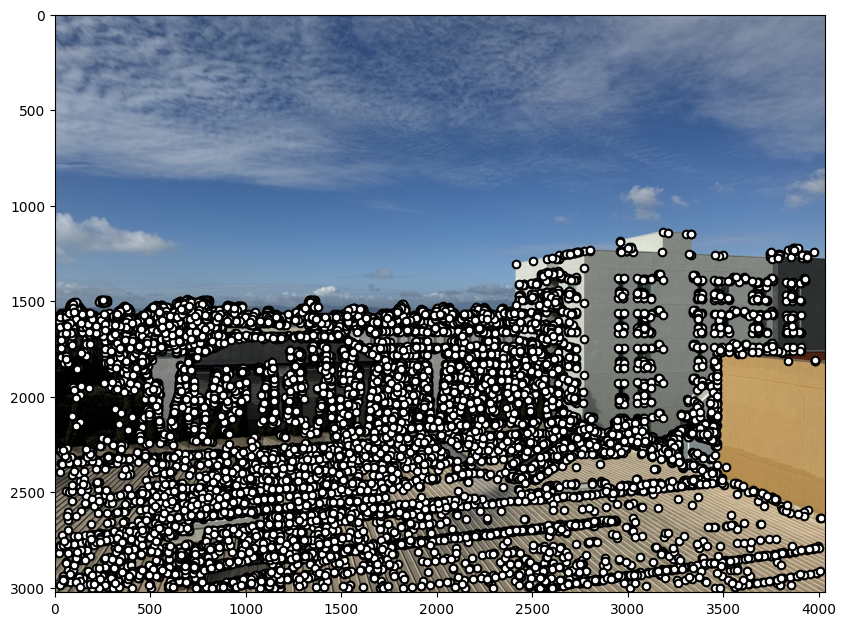
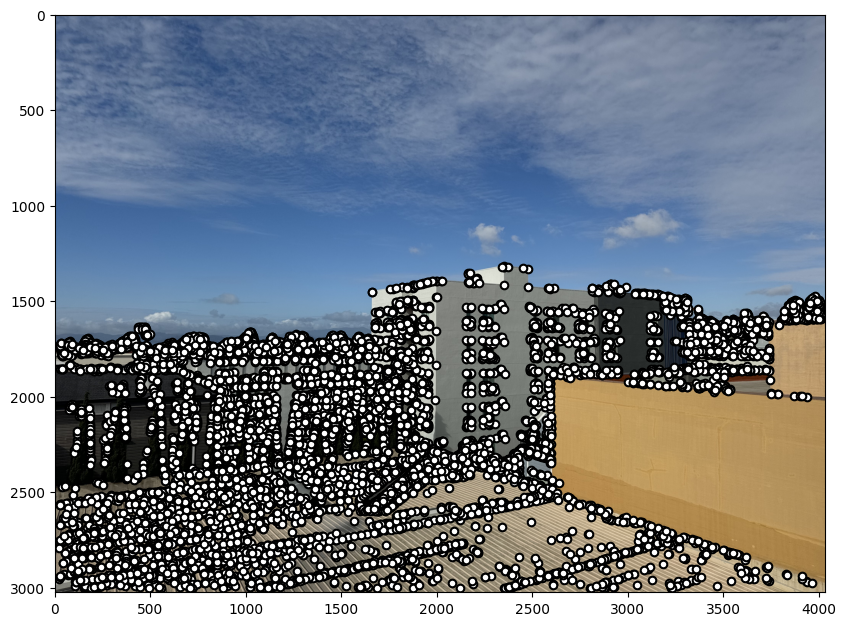
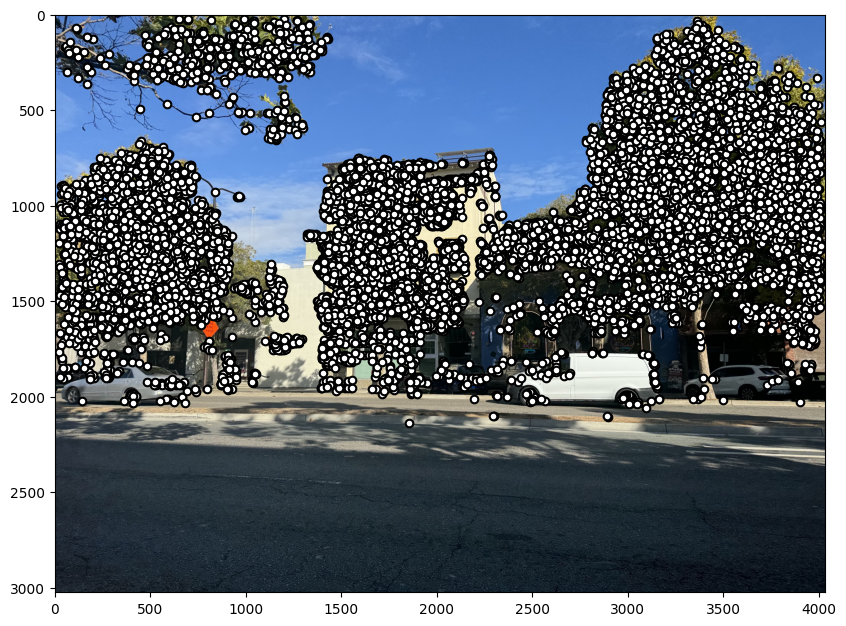
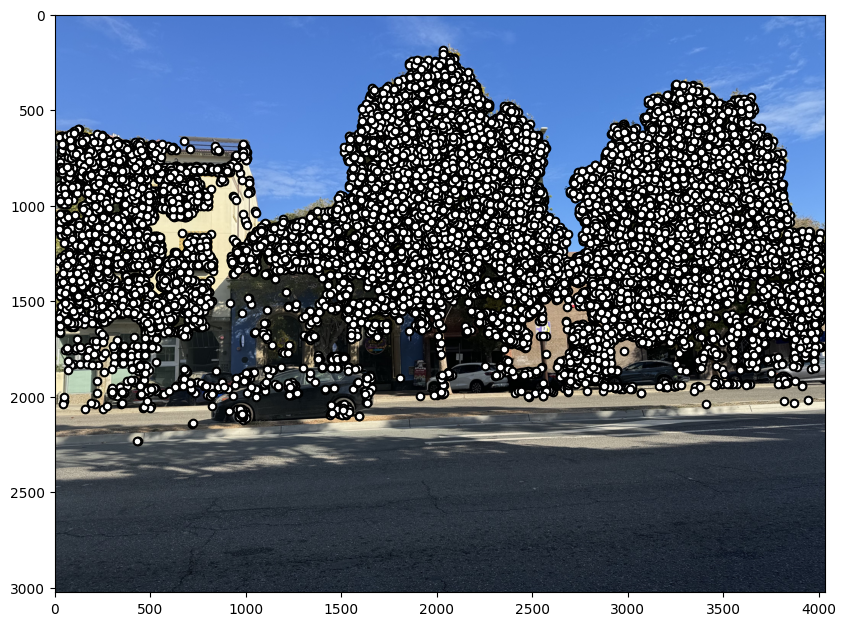
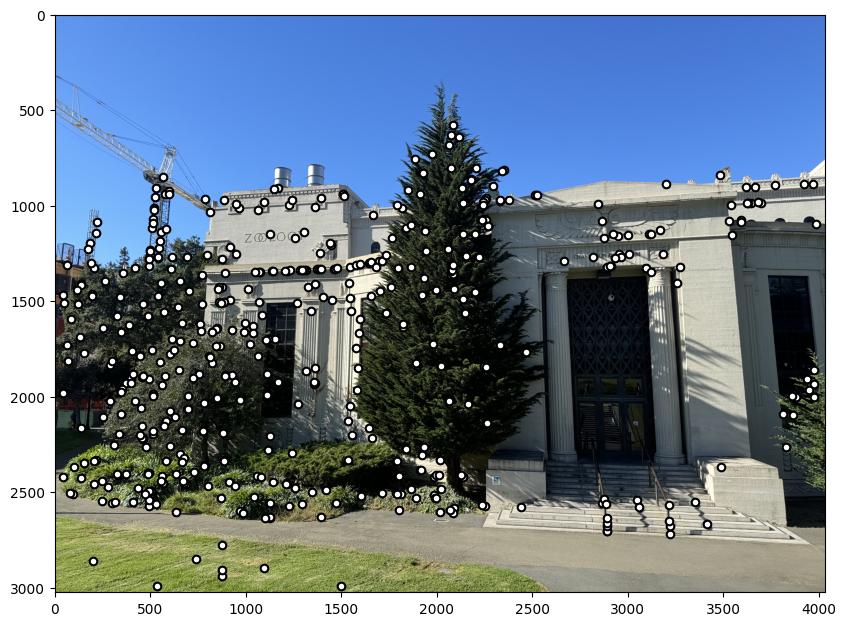
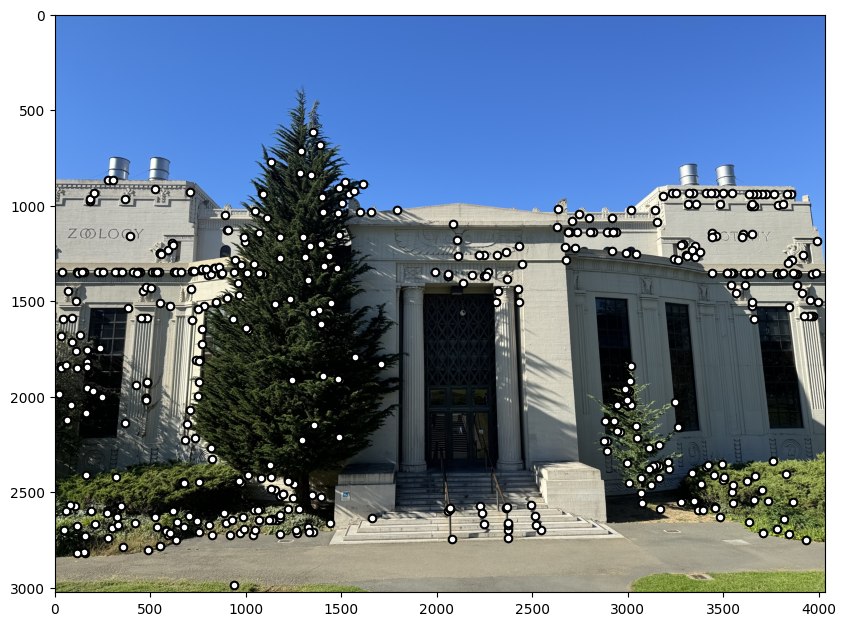
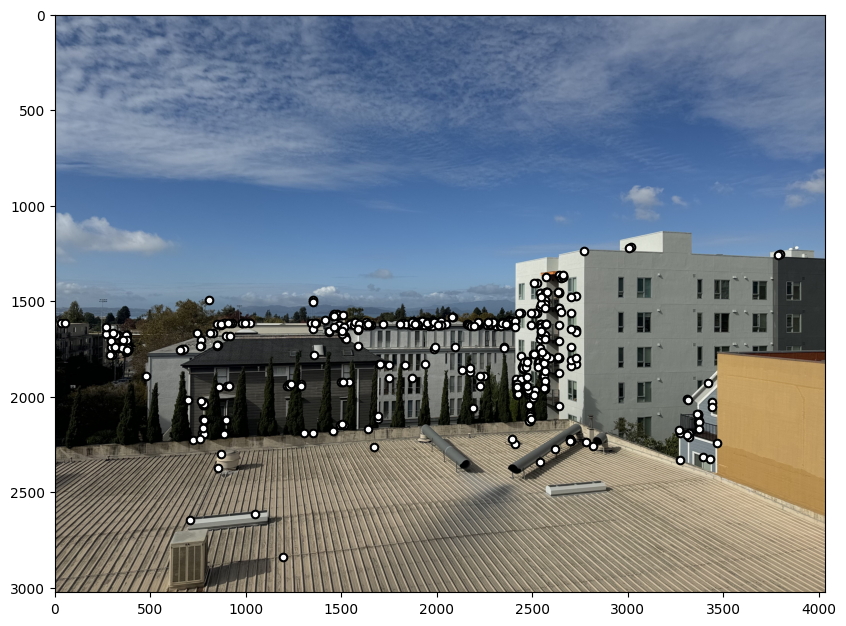
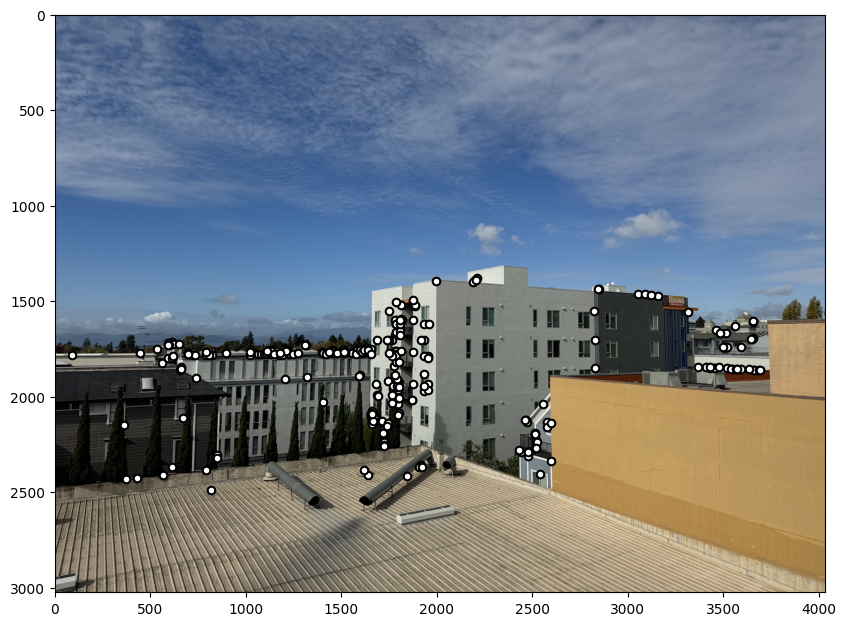
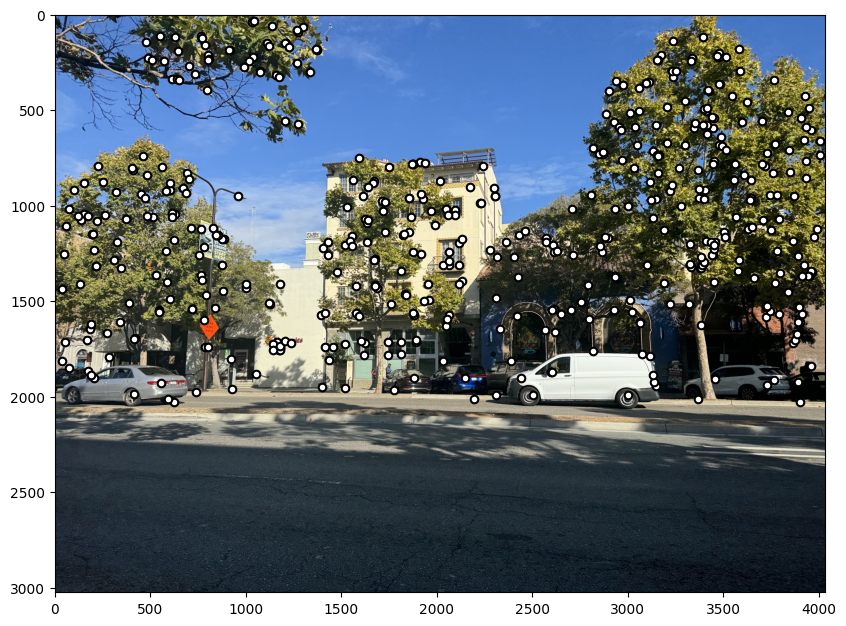
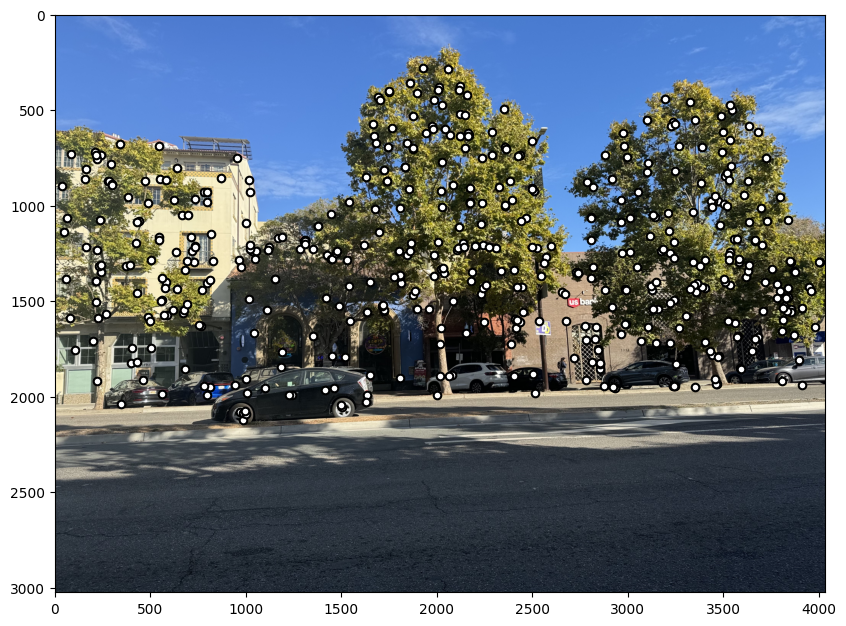
I used Harris Corner Detection to identify key points in each image by detecting areas with significant intensity variation in multiple directions. This method highlights "corners" that are stable and distinctive, making them ideal for matching across images.

Adaptive Non-Maximal Suppression

For the next step, I applied Adaptive Non-Maximal Suppression (ANMS) to refine the detected corners. ANMS selects the most spatially distinct corners by suppressing those that are too close to stronger corners, ensuring an even distribution of key points across the image. This results in a set of well-spaced, high-quality feature points for more accurate matching.

Feature Matching

In this step, I extracted feature descriptors from each selected corner point. In the get_patches function, for each point I took an axis-aligned 8x8 patch sampled from a larger 40x40 region around the point. This larger window allows for a smoother, more informative descriptor by reducing noise through blurring. Finally, I normalized each descriptor to ensure consistency across varying lighting conditions and image scales. In the feature matching step, I implemented a function that pairs similar features between two images based on the extracted descriptors. This process allows us to find corresponding points in both images, which is essential for aligning and stitching them together.

RANSAC

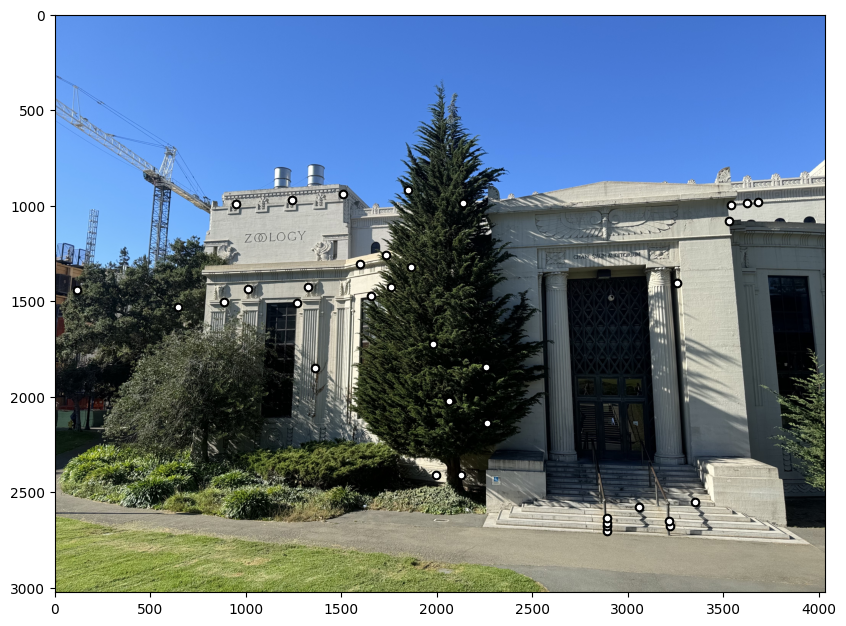
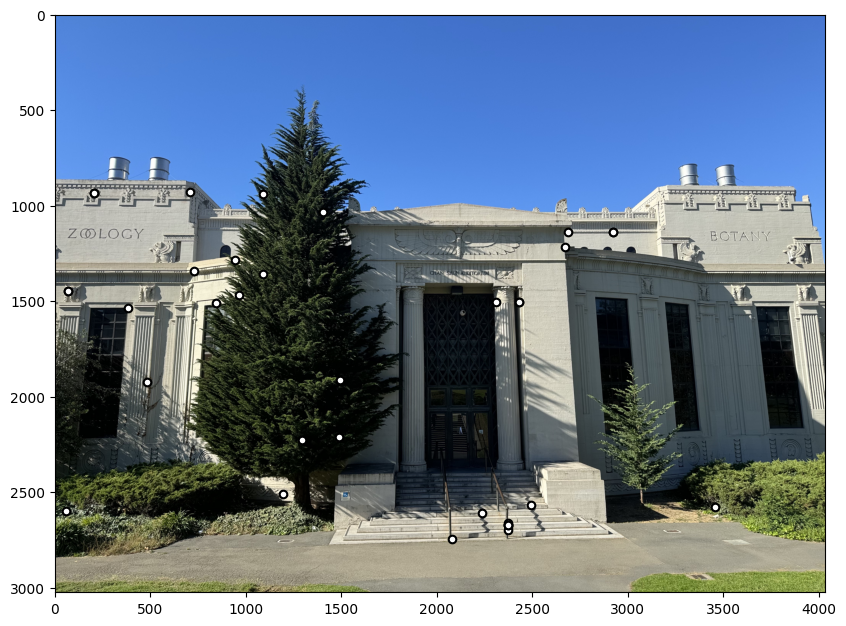
Features can still be incorrectly matched due to noise. To fix this I use RANSAC, a method that iteratively selects random sets of feature correspondences to estimate the homography matrix. By analyzing the inliers and discarding outliers, RANSAC ensures accurate matches are used for the final alignment.

Autostitched Image

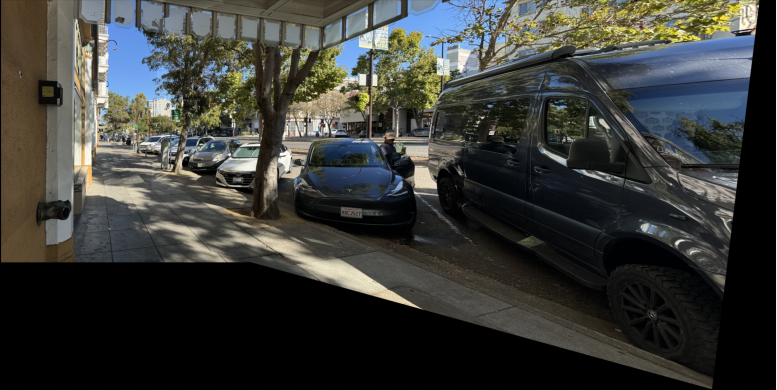
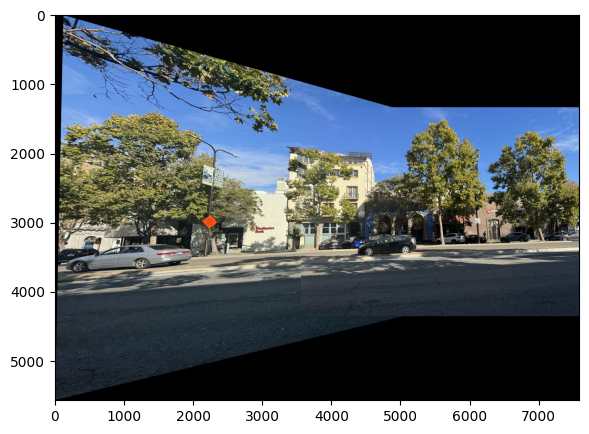
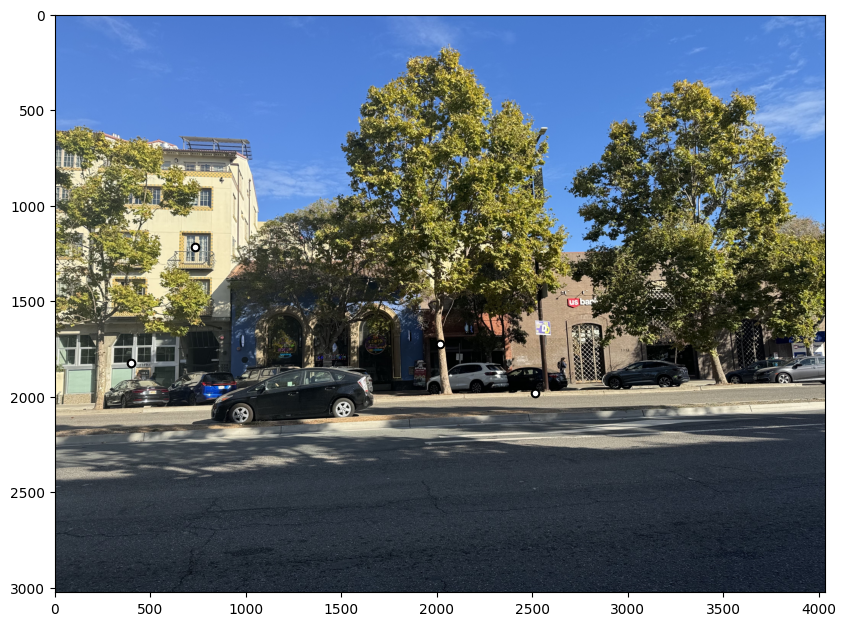
Using similar functions to part 4a, I use the RANSAC points to compute a final mosaic. Here is the above example, along with a few more mosaics. The street and sunset did not turn out how I wanted them too. I believe there was an issue with my blending which I could not resolve as the points as seen before all look right.

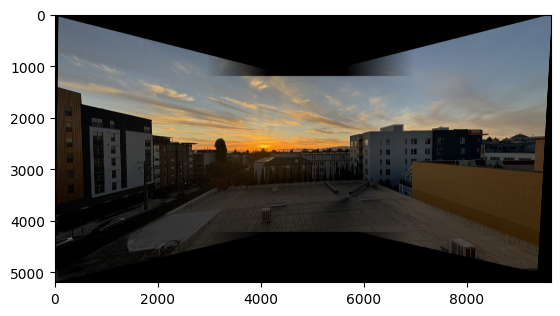
What I learned: The coolest thing I learned was RANSAC. From expirementing I saw how an alogorithm like RANSAC can be used to accurately find points from a sea of points using the method described above. I found it cool to see how we were able to take something that we used to manually stitch and by following a paper we were able to automate it. By far the hardest part for me was warping and I still think I can work on that. For example, in my handstitched images it appears that all 3 mosaics follow the smae sort of pattern where black is appearing at the same spots in each image. I attributed this to how I was taking the photo, rotating on an access in a similar manner each time and doing the same sort of stitching leading to similar blackspace, but perhaps I could have improved my warping and stitching where this uniformity wouldn't have occured. One thing I enjoyed expirementing with was also auto stitching three mosaics together. I attached an example below. It was interesting seeing how to adapt an approach intended for two mosaics to a method with three mosaics.

Three Images